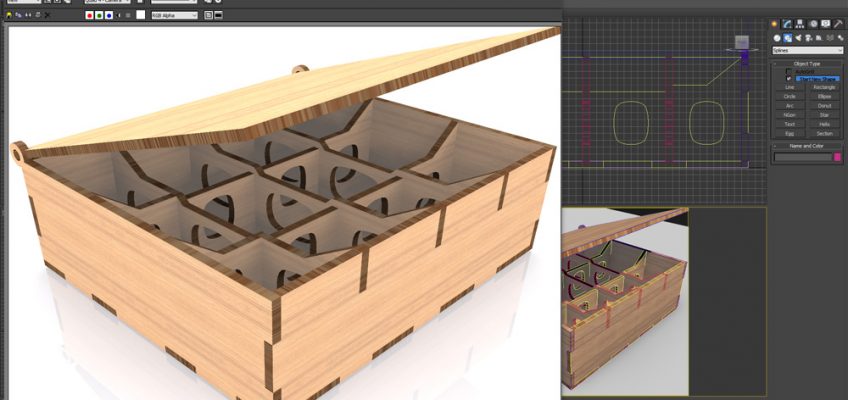
Tea Bag Holder: Design though Fabrication
I recently designed a custom tea bag holder so here’s how I put it together followed by the custom fabrication process after the digital version was checked-out.
I drink a lot of tea and haven’t been able to find a tea holder that I actually like so time to design my own that will be cut out using plywood scraps.
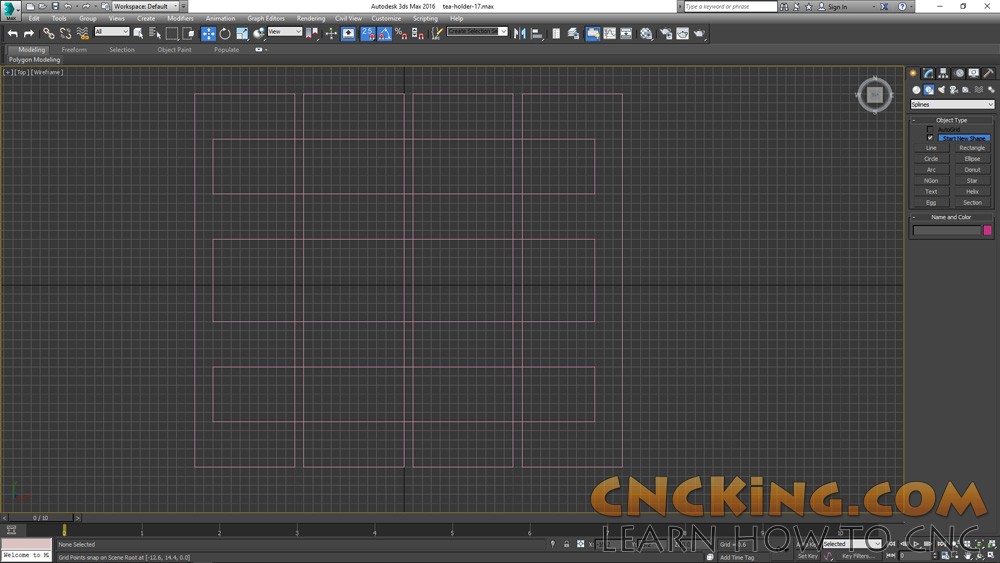
First step is establishing the location of the dividers using the base of the custom tea bag holder, I want it to have four storage “areas” with a few cross-members as well, this will make it dramatically stronger and more usable.
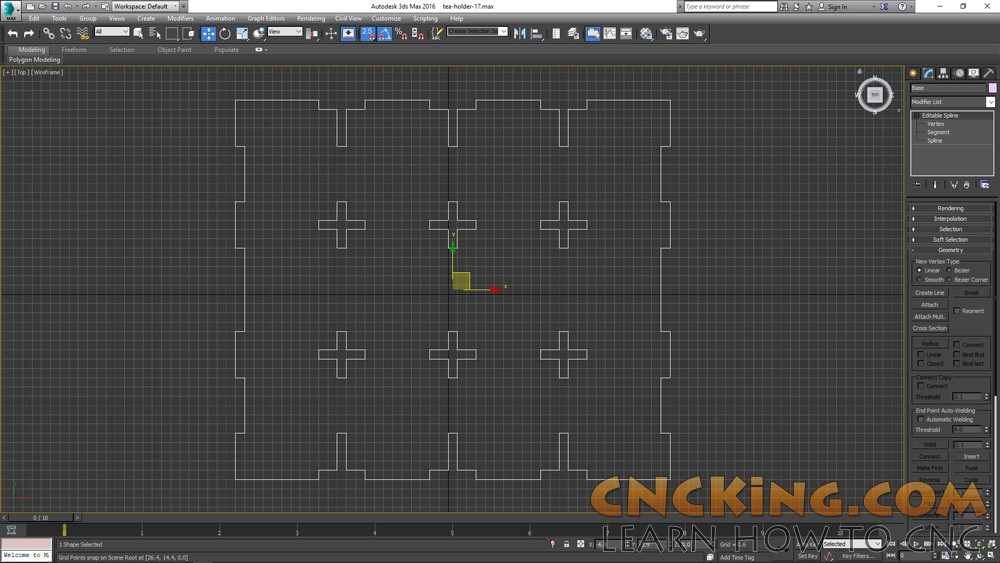
After making the rough framework of where the dividers need to be, I quickly make the solid piece that will form the base of this tea box holder.
I’m going to make this using quarter inch or 6 mm thick plywood, using the laser, the lines can be straight and angled on the inside without the need for dog bones like I’d need if I was going to cut this out using my CNC router.
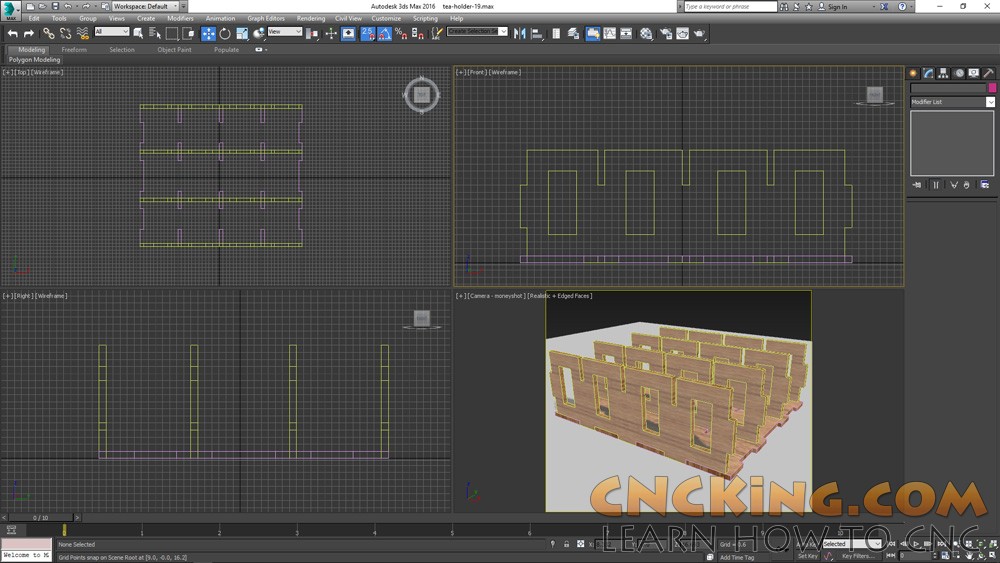
I want to have inner dividers and to give it a bit more “air”I’ll also include some holes in them, this is just a preliminary reminder of what I plan on doing, it will be modified as the overall tea bag holder comes together.
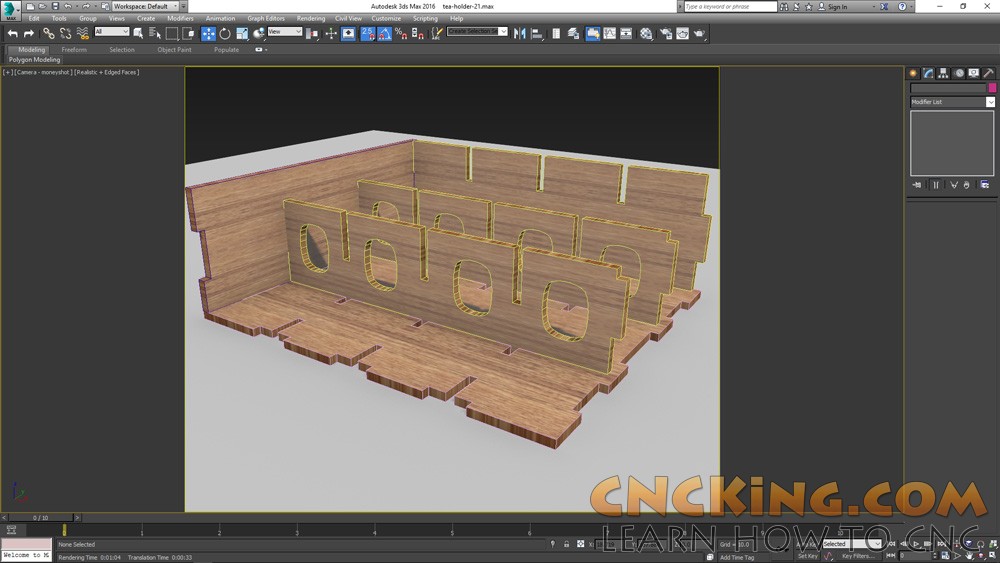
Now that I have things a bit more refined, I can now make the other dividers coming in from the other direction, again, I wish to give them an airy feel as otherwise, this is just a box made-up of subdivided inner boxes which isn’t the look or feel I’m going for.
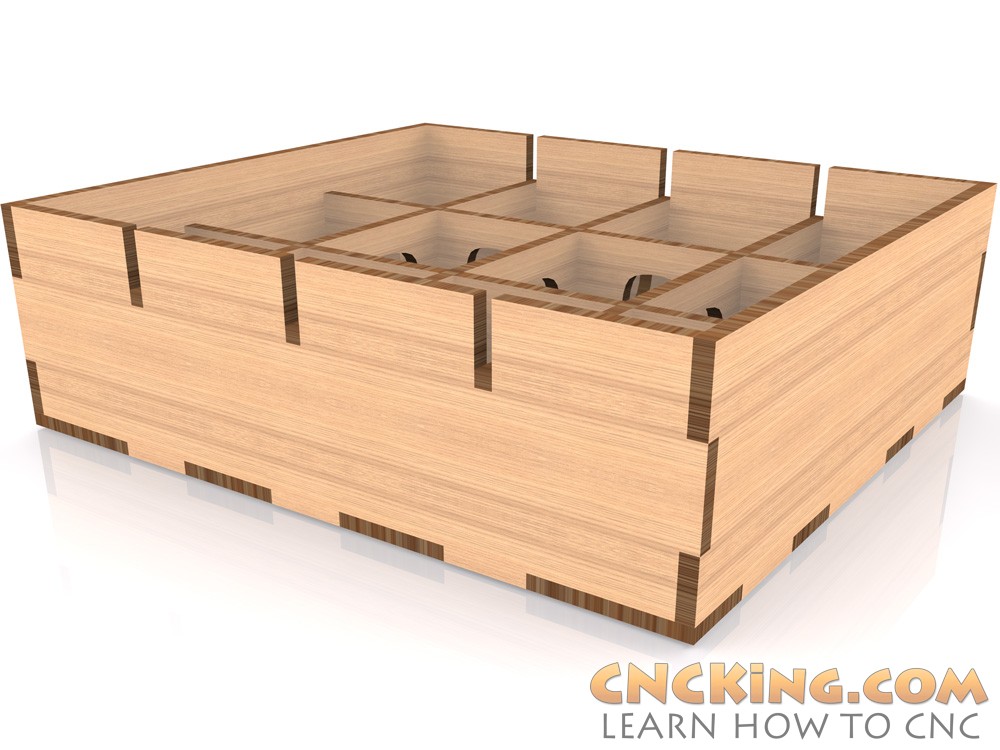
I’ve now got the basics of the box built together, now I want to make it more interesting.
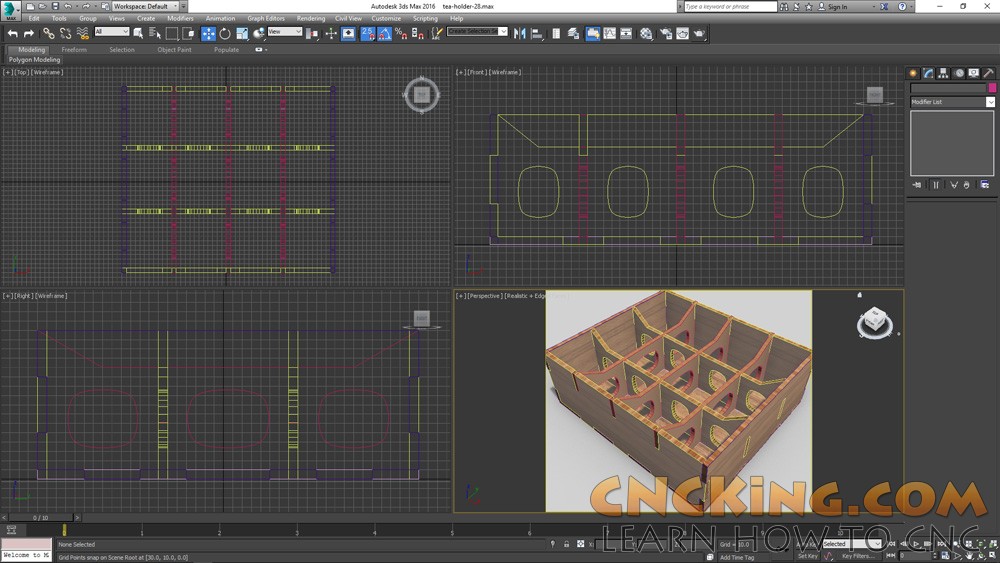
I like how this all came together, there will be further refinements but for now, it’s time to get the lid made-up and finished then using hinges to hold it in place.

The design is now finished, I’m happy with it and the hinge will be cut as part of the design so I don’t need to use any screws or integrated hardware, everything comes together as it should using just glue and the friction of the wood itself.
Time to build it!

