Shoe Holder: Design to Fabrication
I recently designed and cut a custom plywood shoe holder, here’s the whole thing in a nutshell but below are the steps as to how it came to being.
Due to space limitations and three sets of doors in a small cove at the front of my house, a traditional shoe rack holder doesn’t work so like big cities, I need to create real-estate vertically over horizontally.
After quite a bit of thinking, the best location for a vertical shoe rack is right next to the front door that’s roughly a meter high and 30 cm x 20 cm and a tight upward angle as I was born with big long feet and I’d exceed the dimensions required if my shoes were horizontal.
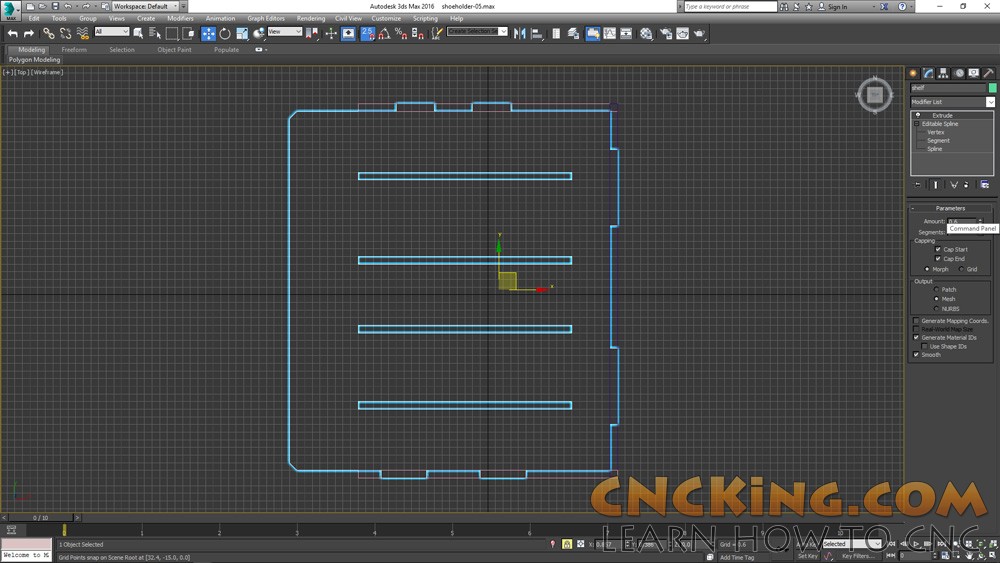
I made a rough outline of the shelves which will all be identical and duplicated up the shoe rack column, I want this shoe holder to be full of holes so that it doesn’t look like you are sticking your shoes in a dark cave.
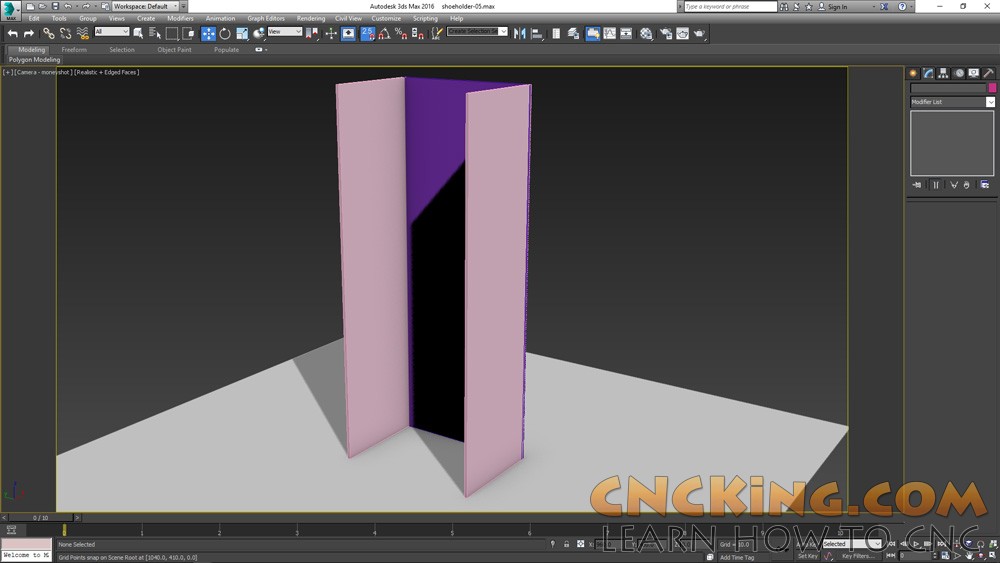
This will be interlocked on all three sides for strength and the material used will be typical 1/4″ 6 mm plywood which I’ve used on hundreds of projects previously.

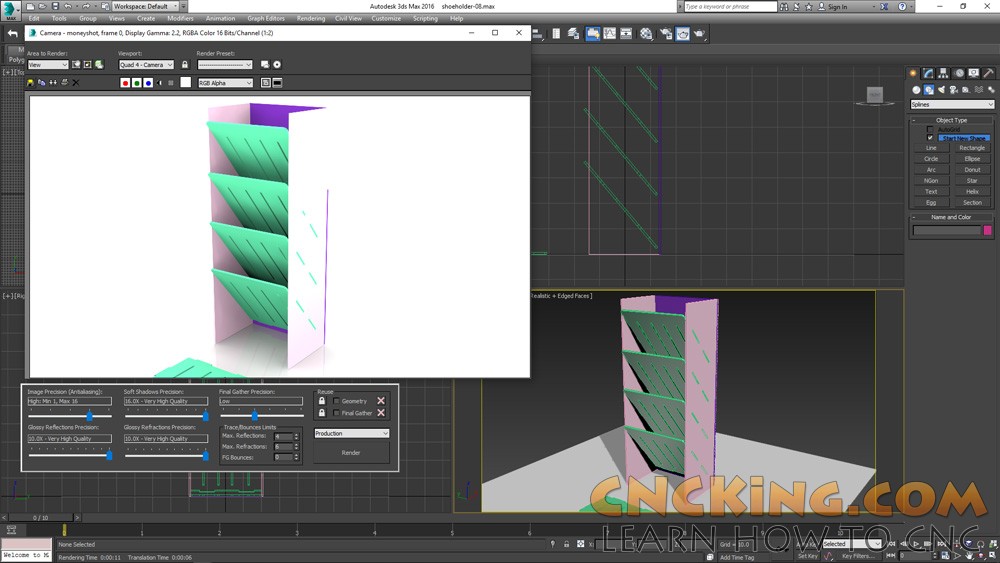
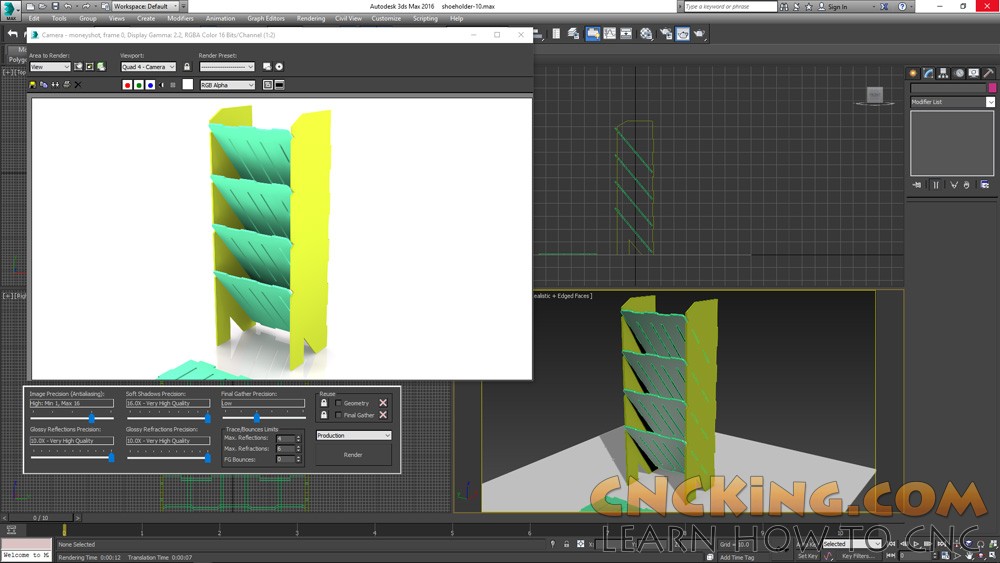
You can get a feel as to the placement of the shoes now, the shoe holder is made to NOT be flush along the backing because I want to use gravity to let any dirt or debris on the shoes to just naturally fall through at the end and in the middle of the shelving.
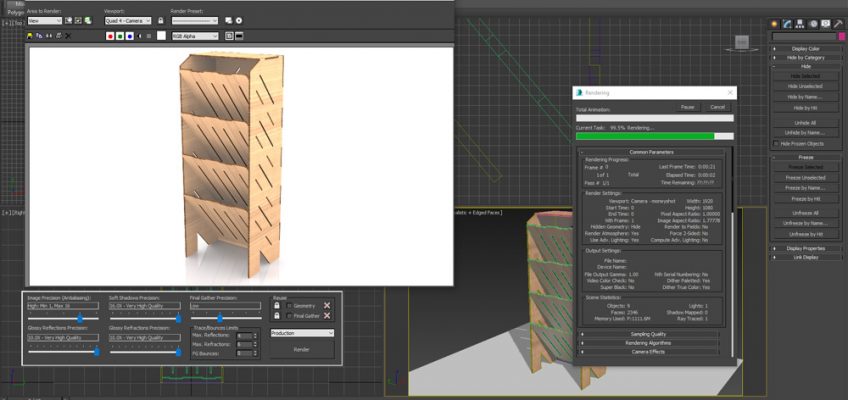
You can get a feel for what I’m trying to accomplish, each shelf comes to roughly 30 cm square with a 15 cm vertical array which gives plenty of room for shoes, as this isn’t a main closet, this can (depending on shoe size) hold between four and 8 pairs of shoes as/is.
Now that the shoe rack is coming a bit more together visually, I can begin accentuating the design to match the sides with the shelving, it still needs a lot more work but I like the idea of putting your shoes into a huge visually appealing boot.
You can see the beginnings of the rough outline of a heel.
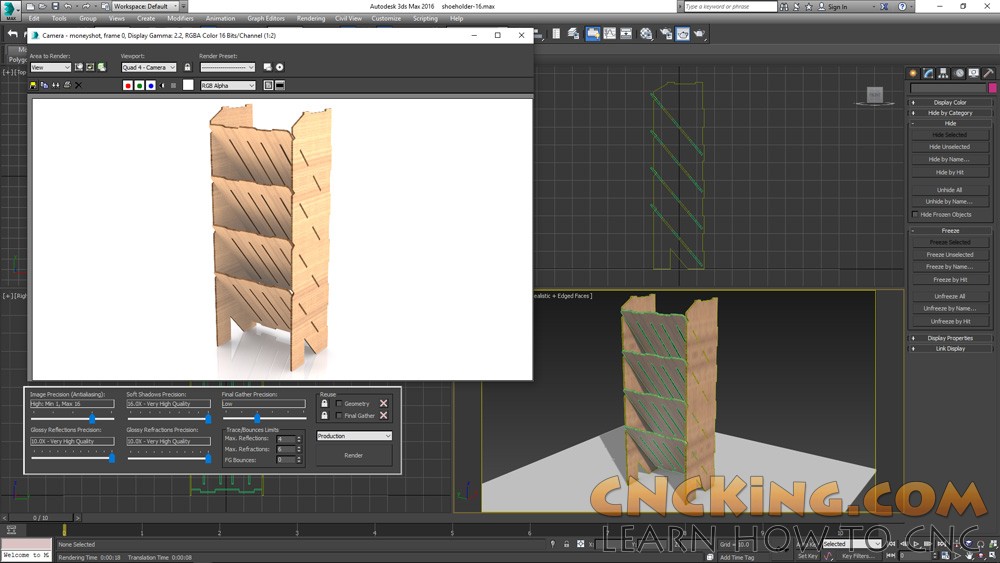
I’ve now added the plywood texture to the model to give it a bit more realism and to help with the refinement of the overall design, the backing needs to be recreated to interlock with the two sides and I need to add some more windows to improve on the visuals of the design.

After extensive testing of part fit on all 3 axis, it’s time to refine the design further to really make it come into it’s own, there are a lot of duplicate parts in this overall shoe holder, as such, if one piece is a little off, it affects all the other interlocking parts directly.
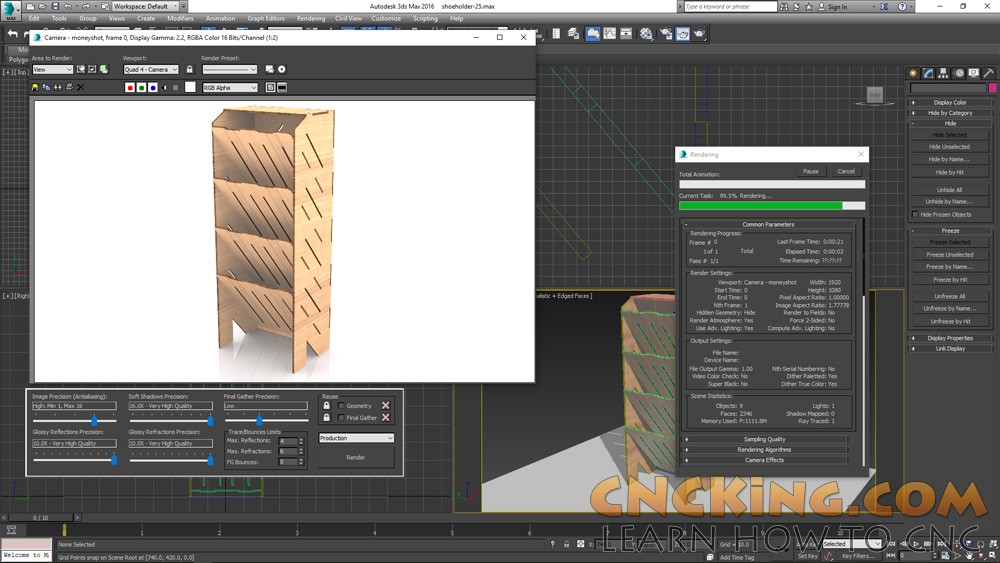
Although it’s hard to see from this image, there is now a matching design element going along the back to help add a lot more natural light coming into and throughout the custom plywood shoe holder.
Time to build it!