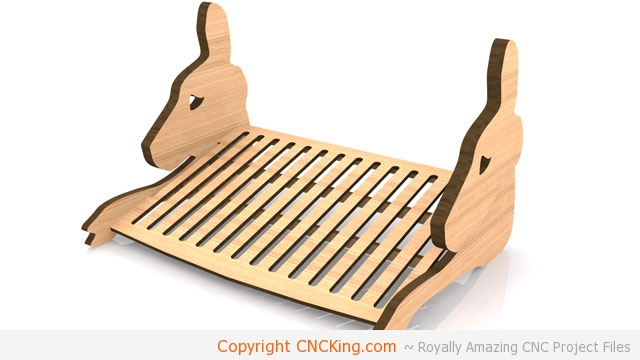
Kangaroo Laptop Stand: designing a CNC router/laser project
After making my kangaroo shelving unit, I decided to salvage some parts of this project to make another one, a kangaroo laptop stand! I’ve been wanting to make this for a while for my own laptop which will hold it at an optimal viewing angle on my desk while keeping it cool from all the heat built-up rendering all these projects out 24/7.

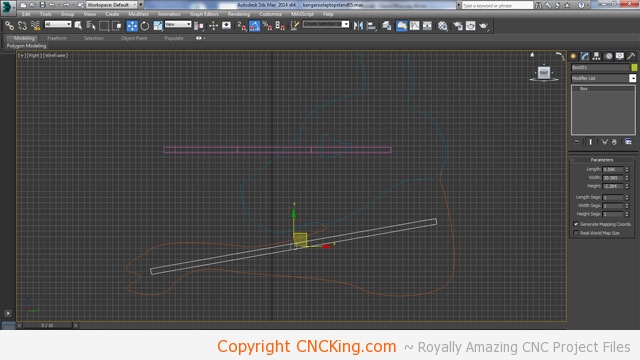
As all my parts are already scaled to 6mm, this saves me a lot of time – hence the salvaging process. What I want to do here is make a reference box that’s 30 cm by 40 cm as this represents the surface area I want to use for my laptop. This can be easily scaled up or down to fit your own laptop.
I had an arm that I merged using a boolean operation with the head to form the side of my laptop stand. I have kept a separate head as I want to have a little depth on this project visually speaking. The advantage of having a large side is that it reduces glare and instills a little privacy when working in an office setting especially with such an attractive laptop stand!
I have my reference length in the middle of the screenshot, I’m modifying the shelf with a smoother front than my kangaroo shelf and giving it two inserts into the sides instead of one in the middle as this will have a lot more weight (static and variable) than the shelf unit.

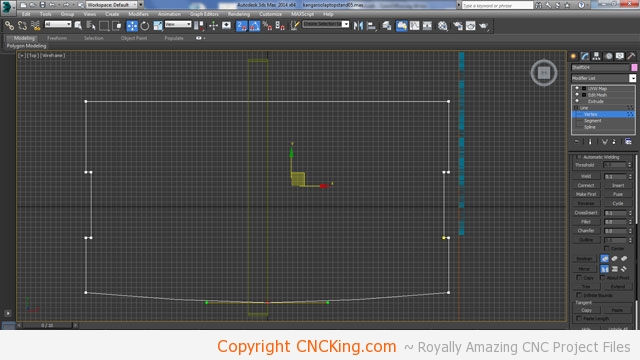
Like the shelving unit, I want to double-up the sides to that I can hide where the boards intersect so I’m leaving a space between the head and arm assembly on purpose to remind myself later. Now that my shelf is the correct width, I’m going to give it some holes to help dissipate heat from the laptop better and make it look a little cooler in the process.
I’ve now angled the bed that will hold the laptop 15 degrees and made slight changes to the arm so that I will be able to completely hide the interlock behind a doubled-up set of arms – one with guide holes and the other without like I made for my Kangaroo Shelves earlier.
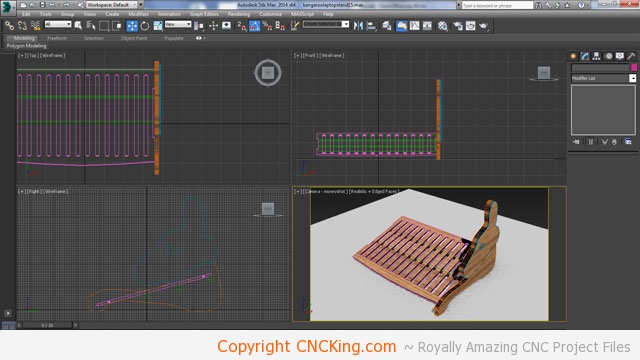
The model is looking great, I added cross sections underneath to keep the platform rigid as some laptops do have quite a bit of weight. There is one problem with this model though, the laptop would slide down as there aren’t any blocks in the front to prevent the laptop from sliding off.
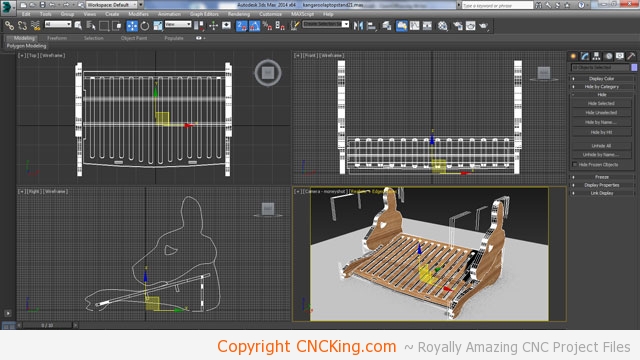
I added a large section out back to keep the kangaroo laptop stand square and made the platform symmetrical with peg holes to hold the laptop in place. I need to add some pegs on the front to keep it from sagging over use.
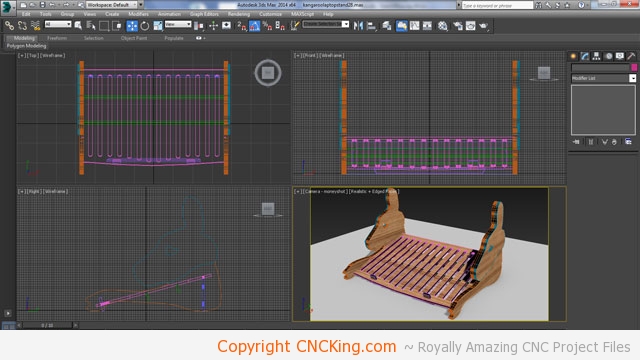
The pegs are supported from underneath with a piece of material going a good length of it, supporting the entire platform at the same time. They are also out of the way of your wrists when you type on the laptop so just about any size laptop should fit fine on this.

I exported the laptop stand and split it up into its component parts, converted into 2D splines to be exported into AI for further processing.
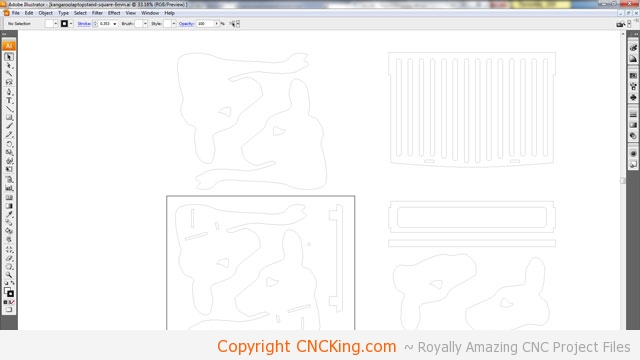
I scaled my drawing perfectly and split up the parts across four 400 x 500 mm panels, next step is saving this file and exporting it to PartWorks.
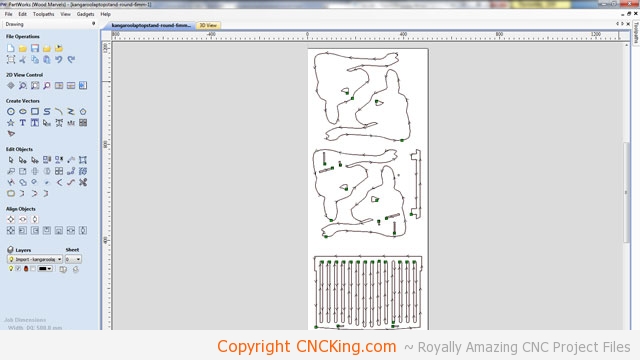
I really enjoy cutting sheets at length instead of smaller cut ones – not only is it faster but I find it a more efficient manner of working so I’ll do the same with this project. The problem with tiling is that it’s such a fun way to work that going back to non-tiling methods feels like going backwards even if, in this case, it really isn’t needed at all as none of my parts need to be tiled across multiple sheets. I did all my tool pathing and exported the relevant files – next up cutting!