Kangaroo Shelf: How To Design CNC Laser / Router Project
I’ve never designed a shelf here on CNCKing.com other than my first “Showcases” which appeared in my first two volumes – the reason is simple… they are easy to design so why bother teaching others how to make them?
I happen to need some shelves through and what I find at the store is your typical boring shelf so I thought, being in Australia, I’d design a Kangaroo shelf!
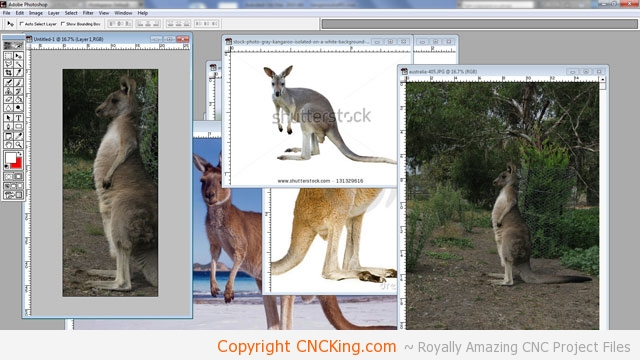
First step, as I can’t draw very well, is to go online and look for a picture of a kangaroo standing that fits within my table router parameters which is 500 mm wide by 1200 mm high.
After looking at a lot of pictures, I scaled one up to fit perfectly. As a shelf is meant to go against a wall, the kangaroo is a perfect animal as I can cut off the back to be flat and the large feet in the front will keep it from tipping forward (and over). I found the perfect profile so now I save that image and will trade it in 3DS Max.

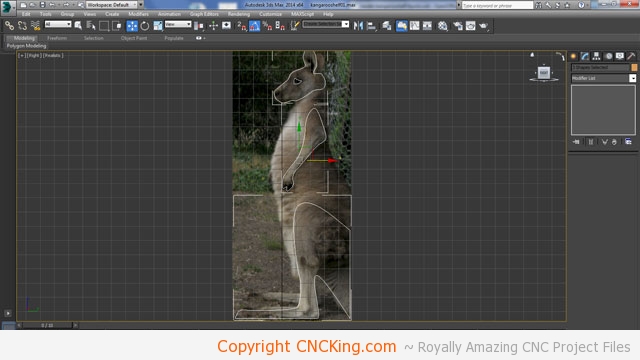
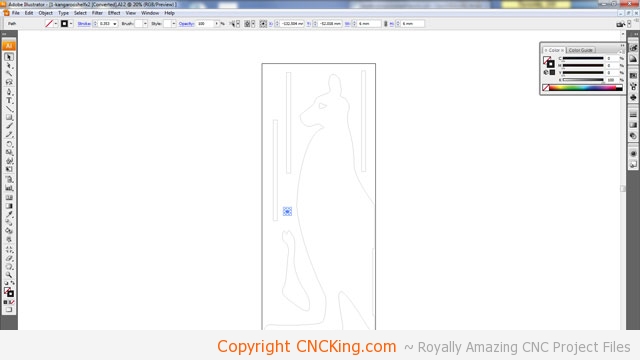
I now have my kangaroo standing on a board that’s exactly 500 mm x 1200 mm (the image size I made it fit in with Photoshop) and then created a rectangle within 3DS Max of the same size, added the texture to the box. Tracing is now very easy. The grid is set-up to be 6mm (each square in the screenshot is 6cm) as I want to cut this with my table router using tiling.
My first tiling project was the Sydney Harbour Bridge and that was two tiles, this one will require three and I’ll position it by eye as it went so well last time around.
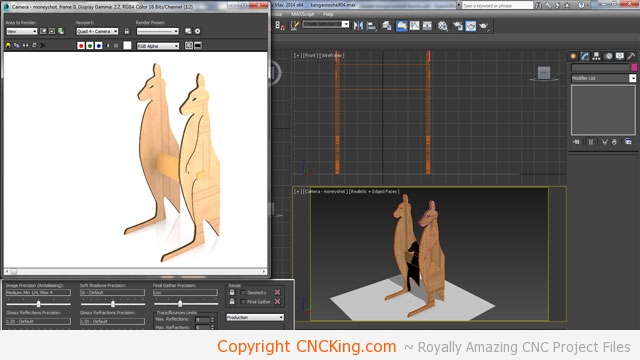
I want to make this Kangaroo shelf layered – sure it takes longer to build, will require some extra guides and generally complicate the design for no real structural reason but it gives a model so much more depth. I don’t want just a silhouette of a kangaroo, I want it to have some depth as well though I’m keeping this at a minimum for easy assembly.
Here I’ve build 2D splines the first outer layer of the model, next step is outlining the entire kangaroo.
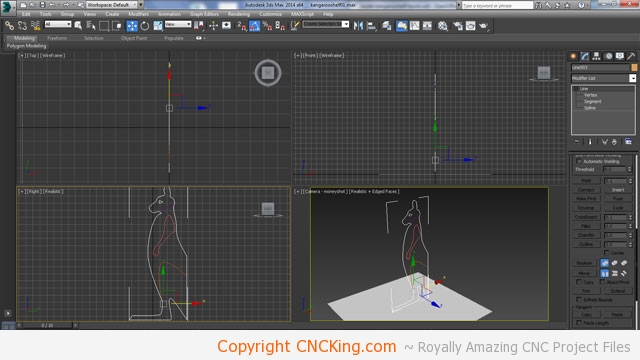
Now that I have the entire kangaroo outlined – I added a bit more of a belly so I have a bit more storage space – I’m happy with everything so far. Keep in mind that this is a shelf, so I need to make my outlines perfect so that I have plenty of strength vertically to hold lots of things horizontally.
By adding this two-layers on each side, I’ve added some strength so that the shelf won’t want to bend inwards if I put a little too many heavy items inside. I no longer need my reference picture so that’s gone.
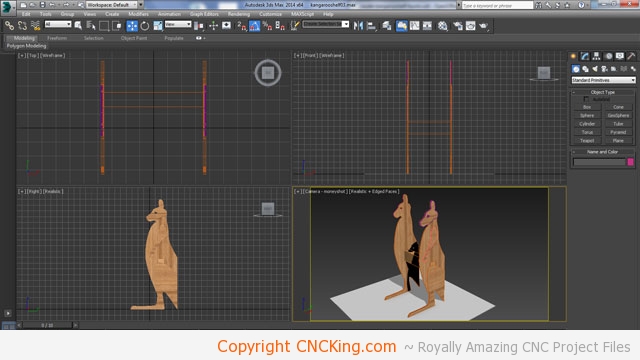
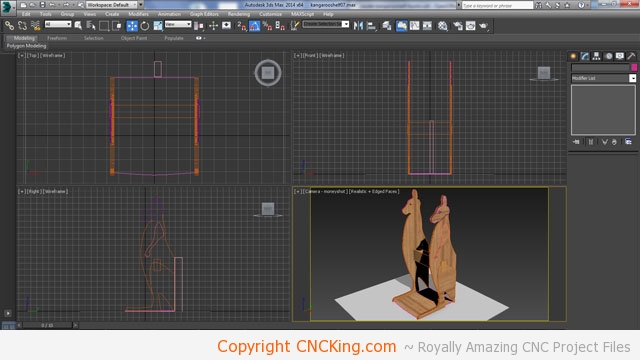
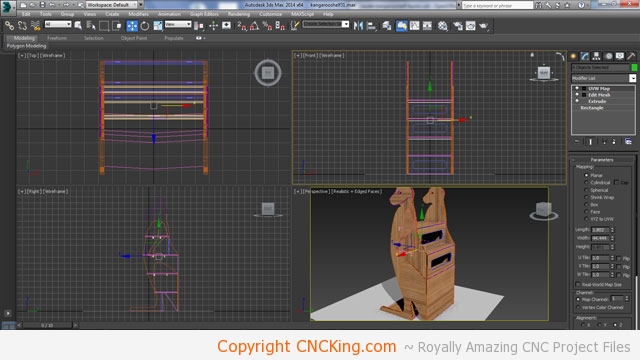
I’ve now extruded the model – looking great! I want my shelves to be 45 cm wide. So I have some good hold-down when table routing this design so right now, I’ve just reflected what I’ve done and roughed-out the distance for the shelves.
I have an ongoing concern about the vertical aspect of the shelf so I doubled-up the entire kangaroo profile. So each side is how a solid 12 mm thick and I’ll have the shelves going through both of them. Of course, I will add vertical and horizontal shelves within the kangaroo but I prefer to overbuild a model to have less problems down the road rather than under-build them her on CNCKing.com. Doubling-up the kangaroo profile for instance will require a lot more work especially with tiling but it’s well worth it in my opnion.
I want a strong base for the Kangaroo shelving so the first level is actually be on the floor. I’ve used the leg on the outside to hide the interlock I’ve created between the feet.
I made each of my shelves about 18cm high from the bottom up to follow the outline of the kangaroo with a bit of extra room on the upper head part.
This raises another issue, putting things in shelves in the upper area may mean objects fall all the way through into the back so I have to create some backstops to prevent this from happening. You’ll notice I rounded outer edges of the shelf to soften the look to match the animal.
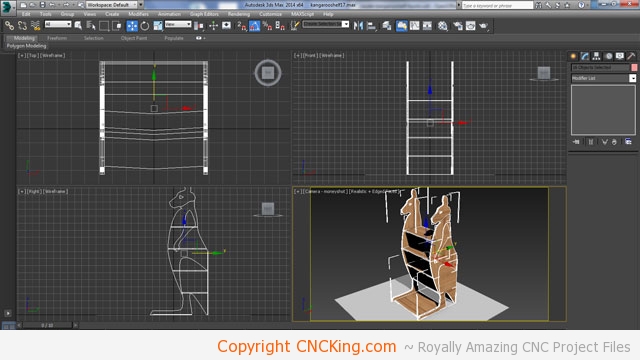
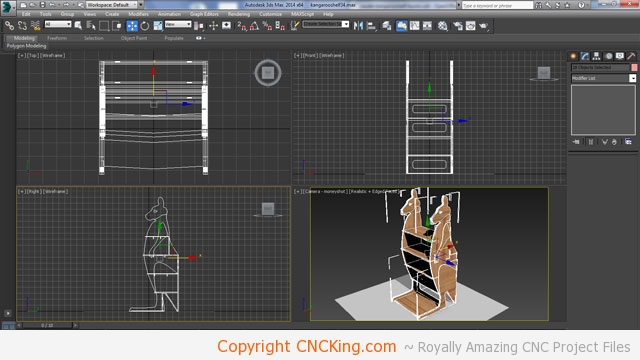
Now the shelves are supported on three edges so they can easily hold some weight and have stops at all levels except for the top where larger and flat items are more likely to be placed.
I converted the second from the bottom shelf to slide into place unlike the others which will be static as I want to add a hidden area in the tail section – it isn’t a large area but most things worth hiding aren’t that big to begin with like diamond rings and cash. There is also one secret hiding spot in the back that isn’t evident from any other angle but from the back.
I’ve fixed the shelves across the board to only go through one of the doubled-up kangaroo profiles so that they aren’t seen protruding from the edge. The shelves also extrude “rounded’ outwards from the profile by 12 mm to give this a bit more depth and smoothing line lines of the project further.
I’ll now do a final review of the model to make sure the smaller pieces of this model fit within my 400 x 500 mm tolerances as I don’t want to have to tile parts just because I’m a few mm too large.
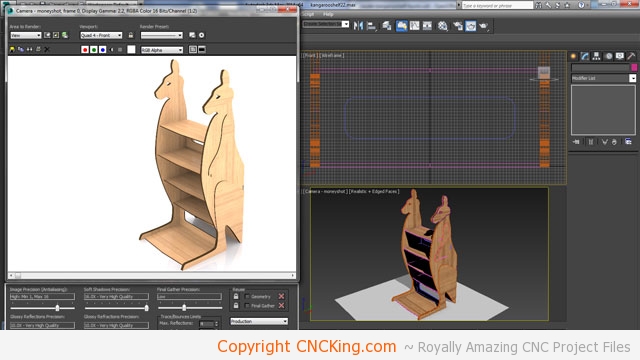
I added two rows of under-shelves support in order to give them a bit more strength as they do extend almost 450 mm. Although these may not be needed, I might as well add them now rather than have issues later down the road which could have been easily avoided. Only thing I have left to do is creating all the tabs inside of the profiles for the shelves now that those issues are all resolved.
Everything looks good, I’m now going to generate the cutting files next but first I need to group all the parts and bring them into another file to separate all the parts from one another.

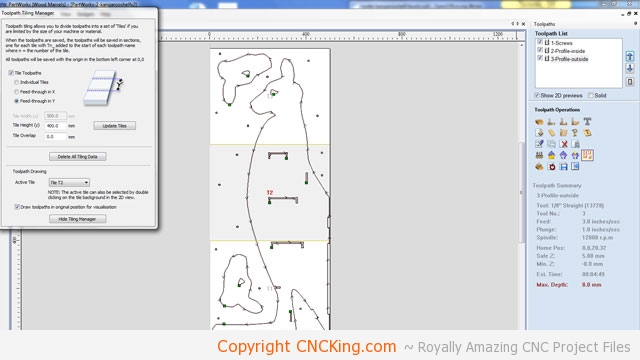
After separating the individual parts, I get rid of the extrusion and end-up with all my outlines which will be converted into toolpaths within PartWorks.
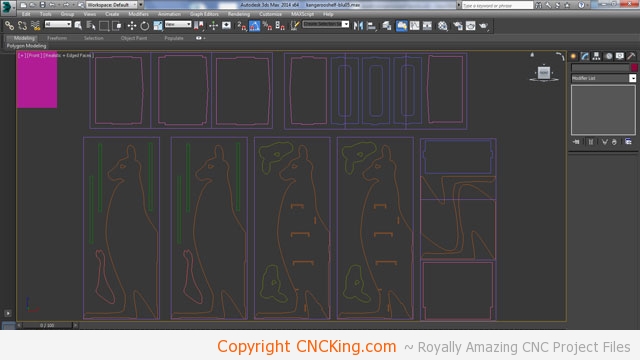
As these files are rather large, I’ve separated them into their rough cutting area so that when I export them, I know which files to duplicate and which not to. To save time, I’m going to try to use tiling for the entire project as it saves me from having to do two cross-cuts for each sheet.
This is why having a full-sheet router would be a dream as I could organize my parts across a far larger surface area. This is by far the largest project I’ve done so far with my ShopBot Desktop, taking the equivalent of 21 400 x 500 mm sheets!
Once I scaled down my drawing so the square I made in reference in my 3DS Max file down to represent 6 mm, I know my drawing is perfect – I’ll do the same for the other sheets then export this into PartWorks.
Tiling saves an incredible amount of time but it also creates a headache because I have to stop, reposition the board then cut the next tile. The issue with this is that each time I do this, I introduce a new area of potential error in my finished model as I place everything by eye.
These kangaroo silhouettes also barely fit on the board so I’ll have to pay special attention to my workflow for this project by probably cutting my board to be wider than 500 mm just so I have extra room on the sides to keep all the pieces together during the cutting process. Another issue is for some of these tiles, I really don’t have as much hold down as I’d like… tricky!
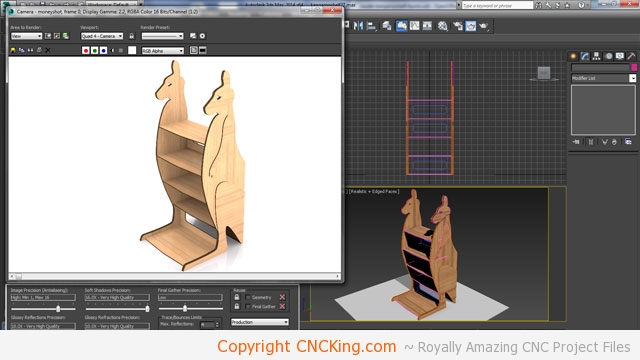
This laser or router cut CNC Kangaroo shelving unit is rendering right now and I’ve already built it – meaning everything works perfectly! I should be releasing it in the coming week on CNCKing.com!