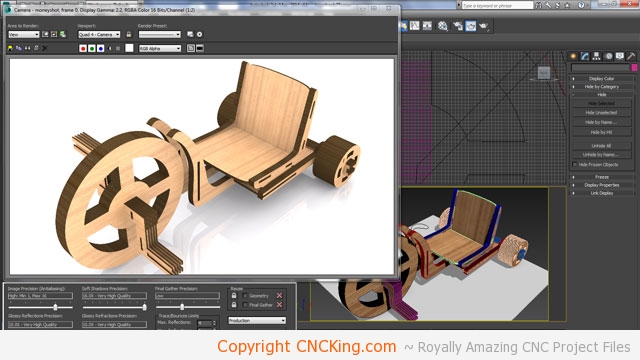
Wooden Big Wheels Tricycle: Part 2 ~ Adding Details
Now that I have the basics outlined, I’ll continue refining the ideas I hashed out earlier into something more tangible here on CNCKing.com.
I think I’ll have to split these parts into 3, so a front end locked in with a back end using guides mid-way through even if this will weaken the structure, 12 sheets being used alone for only these parts 60 x 120 cm along with other large pieces isn’t something that is a very efficient use of time or materials though this will greatly increase the piece count. The boards right above the wheel wont’ support any weight so they will be far smaller pieces and more ornamental than supportive.
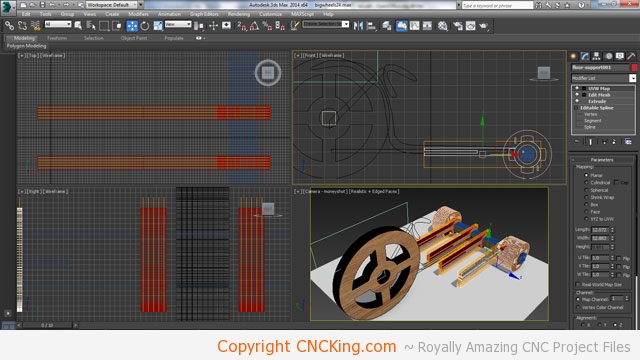
I’ve worked-out some preliminary brackets that will allow two plywood floorboards to slide into them (making everything very solid and strong) that also lock the axle in place… I only want the rotation to occur on the wheels themselves, I don’t want the axle to be spinning. Once I work-out a good locking mechanism for the front and back brackets (back wheels through to the big front one), I have a feeling that I’ll be heavily modifying these brackets to look and function better with the seat that will go above them as I could have part of the seat created at the same time as the bracket though that would take one full 400 x 500 tile alone, ten of those would help make that entire assembly very easy to assemble.
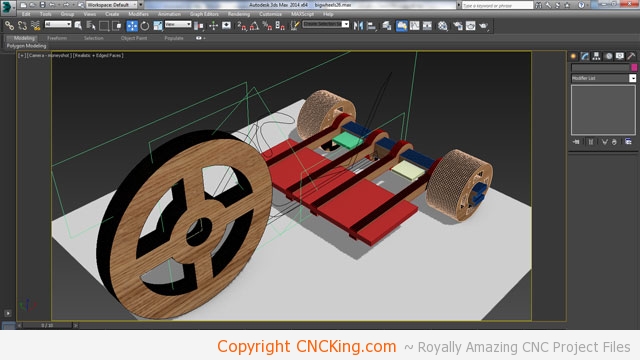
Here you can see the guides I make to help me build pieces that will intersect across several parts across multiple axis. What I will do to create a solid platform is have the same two pieces that make-up the floor of this project, will just slide into place through the sides and into the back axle.
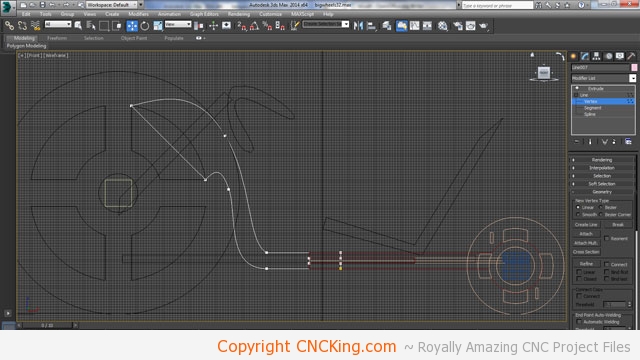
The challenge I have here is making the second piece strong enough to hold the wheel assembly in place, if I just wanted the wheel to go straight it would be easy but I want to be able to steer this project easily, which means having the steering column lock into place. Easy if you have steel tubes and exterior hardware, tough when you only have glue and plywood. Another option I’m thinking of doing is having the middle supports that are found on the floor actually extend the length of the model somehow.
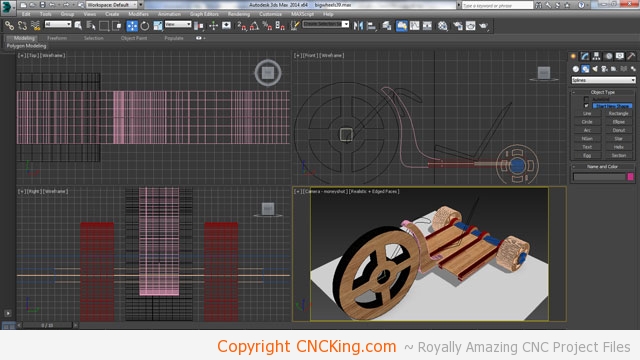
I know that the design I have now wont’ work as the steering column has to work from the center of the wheels to work properly so I’ll have to develop soemthing that goes on both sides and locks it into place. Doing all these calculations in my head is a good workout as I only plan on building one of these and having everything work perfectly on the first try.
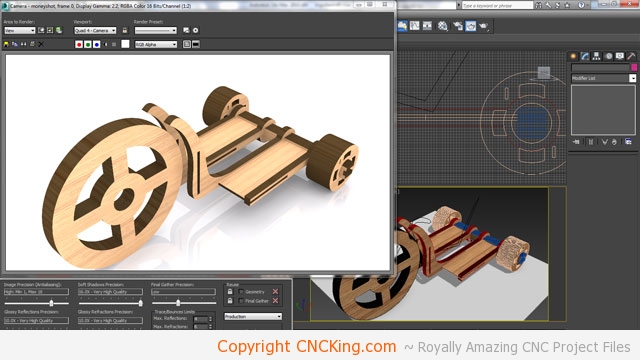
After a lot of going back and forth, I decided the make the central column all one part front to back, it adds so much strength to this model and also greatly simplifies the build process. There is also a lot of room to add character to the model. I want this to be strong, functional AND COOL! I have enough now to start work on the steering column, the seating will have to be able to go back and forth to accommodate the driver but that works great when you have two levels of flooring to go through.
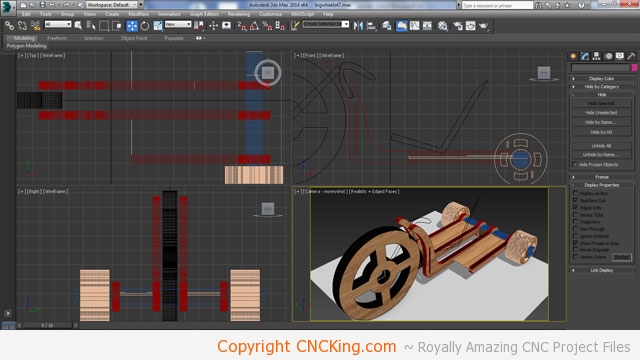
I extended the back further which means bigger kids than me would be able to drive this but it also allows me to add some storage in the back like a basket to carry things along. I also thickened-up the full-length supports to give them more strength while keeping the ones on the side the same to begin adding more layers to the model.
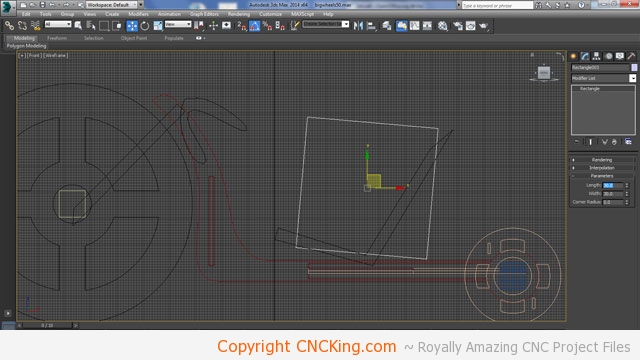
Time to build the seat! I’ve made a 30cm square box and gave it a slight rotation so that driving is a little more comfortable though I’ll probably make this seat into something that’s compounded so that it looks a little cooler than just a regular seat. At this position, the middle of the seat to the middle of the front wheel is 68 cm.
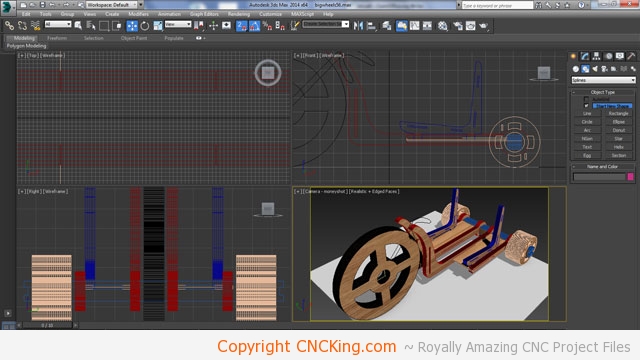
The seat will have a lot of force onto it as the back is what you are pushing up against to get some torque so it must be extremely solid. It would be incredibly uncomfortable to sit on edge-on plywood with related splinters so I’ll be using full sheet faces for the seat and backrest. This also greatly reduced the piece count that I’d otherwise need to cover a distance of 30 cm, 6mm at a time. You can see that I’ve already created the tabs.
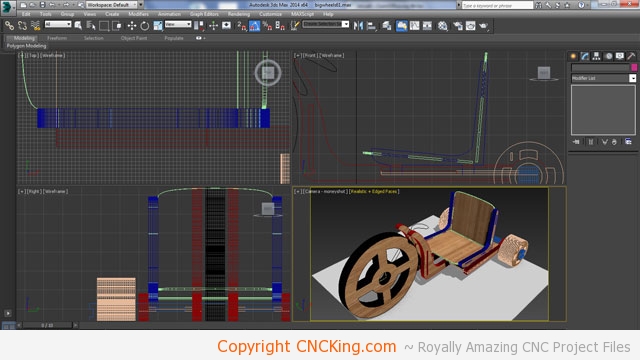
For ease at the moment, I made the seat and the back the same piece which can each only go one wayand both set-back 5 degrees. I think I’ll double-up the seats panels just for some extra strength, one sheet of plywood might bend to increase comfort but I also want people heavier than me to be able to sit in this without it breaking.
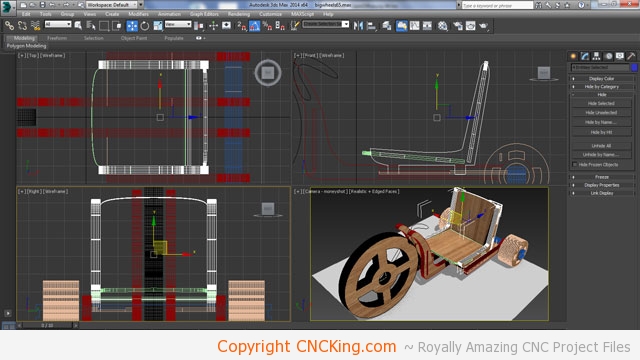
Fixed-up a few parameters with the seat to make it stronger, should be fine to support some pretty heavy kids now. Next-up is getting the steering column worked-out.
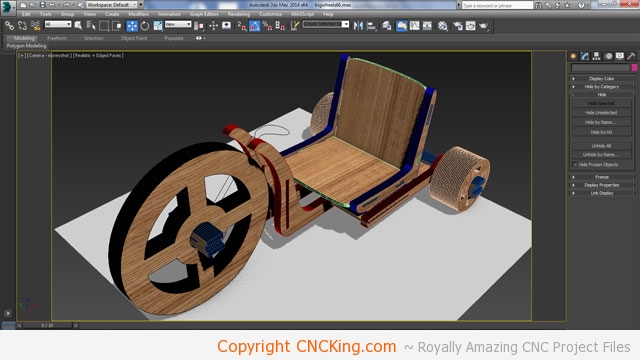
It’s now time to fix the front wheel as if I have a round hole inside of it with a square axle, I will have absolutely no torque as the pedealing will just spin the inside axle and not the wheel. The wheel needs to be locked into the pedals for maximum torque.
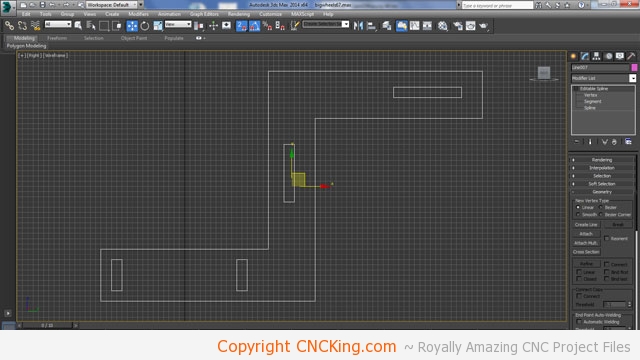
The pedal has to be extremely strong, I’ll make them symmetrical so one side is just a mirror of the other on both sides of the main big wheel. There will be a lot of pressure on this both pushing and pulling (reverse pedaling to stop faster). Plywood is a strong material but it does have limits especially when you have pieces out afar without any supportive guides to keep them in place. They will each be 5 x 0.6mm in thickness. I also have to lock both pedals together within the axle, hence the two guides in the axle area.
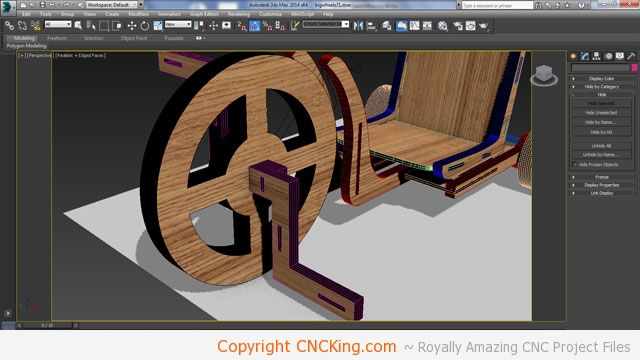
My pedals are a little too large here but this gave me an idea, I can actually alternate the vertical pedals with horizontal guides, creating the strength I need while also making them more functional as they’ll be completely symmetrical on both sides.
