Wooden Big Wheels Tricycle: Part 1 ~ Designing Foundations
As this project is relatively big AND I plan on driving it, I sat on the floor to get the rough measurements of where I want things to be, distance of my bent knees in the “driving position” and where I’d be sitting next to a tape measure. I then figured-out my widths as well. This is what I love about designing these things for CNCKing.com – I can now make anything so it’s a decision of pushing myself further into real unknowns.
The biggest challenge I see with this project is myself, I weight 80 kg and this plywood model, kept together using only glue, not only has to hold my weight but also withstand the torque I put into the front big wheel to make it spin on pavement and the forces on all sides when I’m driving it at speed and hard breaking just like the original Big Wheel! This project would be dead-easy making it out to be CNC plasma cut out of steel but plywood is what I use and I’m not using any exterior hardware.
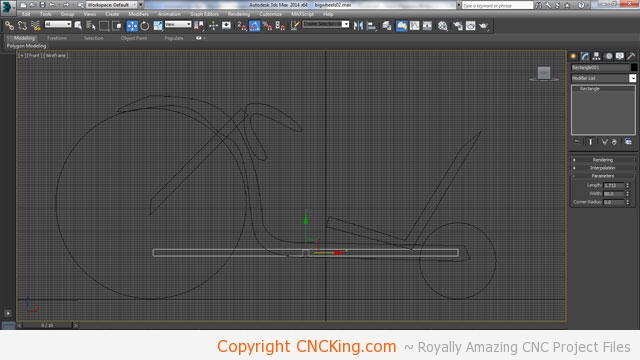
I then put the rough measurements into my 3D modeling program so that I have a guide to follow when I’m building this model out. The central distance between the front and back wheels is 80 cm which means the wheel in the front is going to be 50 cm in diameter with the back ones being 20 cm. I’d like a slight incline on the seat with the option to reposition it (like the original plastic version) as it makes for a more comfortable drive. What I will most likely end-up doing is making the seat move widely front and back to suit riders of all sizes which is easier than having the front handlebars move around as they will be pivoting as well. Suffice it to say, I will be using more plywood for this project than I used for my Kangaroo shelf which was the equivalent of 21 400 x 500 mm sheets!
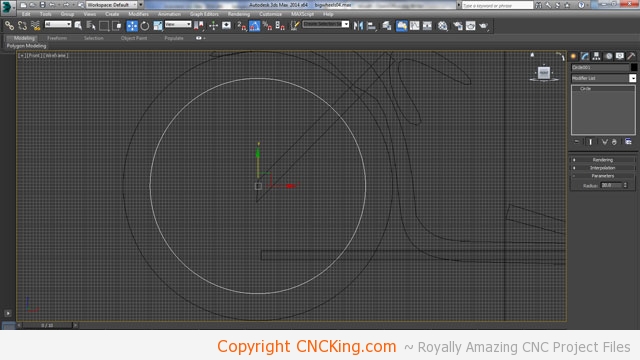
There are so many options as to where to start first but I think the biggest challenge will be in building the wheel assemblies, what goes in-between them will fall in place easily afterwards. Because I don’t have a full-sheet router, the front wheel will be the biggest challenge to work-out. I REALLY do not want to cut it in two tiles so my limiting comfortable diameter is 40 cm but this isn’t big enough for this project. Although it complicates things, I might have to break it up in smaller pieces that are then glued together but that would cause structural and design issues of their own and greatly increase piece count. ARG! Let’s deal with this first! The first circle represents my “maximum one-tile” size while the outer wheel represents what I want to have.
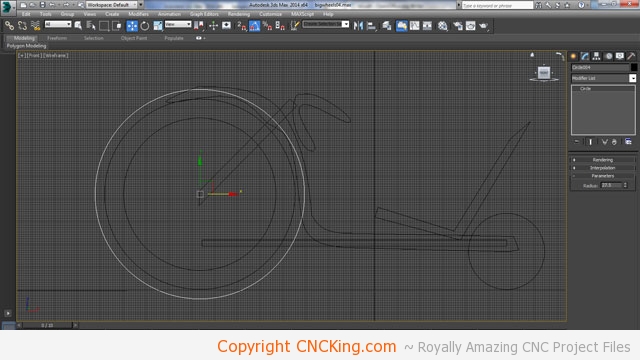
I’m really screwed whatever I do so if I’m going to fail, let’s fail big! I’ll make the wheel 55cm in diameter! I’ll make sure that the wheel is symmetrical so I can rotate the errors around the entire circumference which would mean that any error isn’t noticeable after a little driving on some hard asphalt. This is a Big Wheel so let’s make it massive! I want the wheel to be thin relative to the back ones so I’ll give it a width of 60 mm which means I need to cut roughly ten of these wheels… of course, it will have spokes!
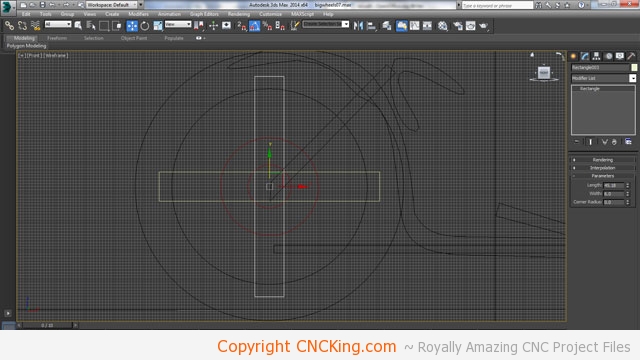
I believe I’ll have more than enough strength in the front wheel as most of the weight will be on the back wooden tires which is why it was so easy to pop-a-wheely on these things. I’m making a lot of assumptions though so just to be on the safe side, I’ll keep the spokes at a minimum.
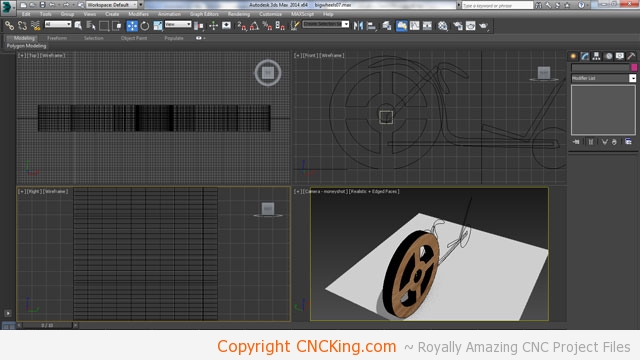
The front wheel is looking big and strong now, it has to freely rotate hence the hole in the middle of the spokes where I’ll have 10 layers of plywood glued together to form the axle. There will be a lot of “spinning action” going on inside of here on the edge of the plywood but I think I’ve figured-out a way to smooth that out a bit in my mind.
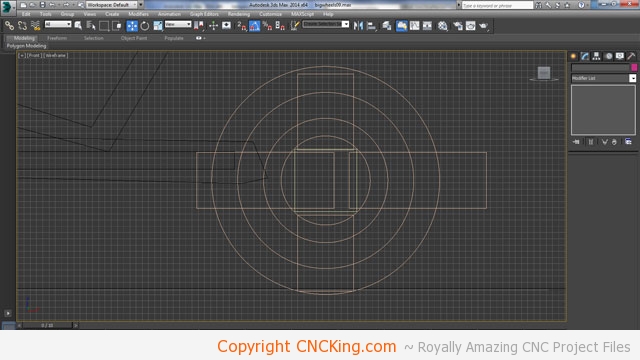
The back wheel will be extra thick and strong as most of the weight will be on these but that doesn’t mean you can’t add small details to make them more interesting than just a solid wheel. Here you see the mess of 2D splines that I had to create in order to create the spokes, they are thick but I wanted something that you could still see all the way through to add a bit more novelty to this Big Wheels.
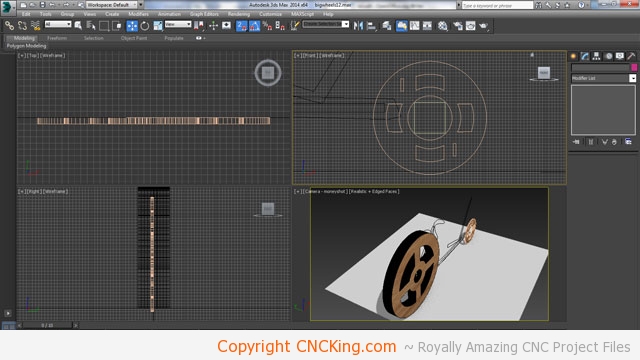
I added two guides to this wheel, it adds more strength and also makes the build process easier. I’ll also be adding this to the front wheel later for the same reasons. The front wheels were multiplied 10x so the back ones will be 20x. This model will use a fair amount of plywood but I prefer to be safe than sorry when it comes to building models that will have forces at all angles on them.
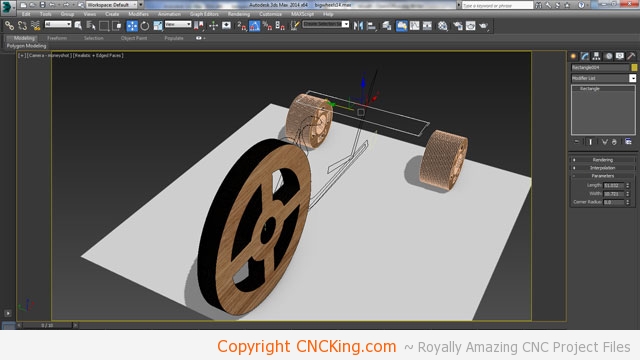
The basic shape is coming together well and I have 50 cm between the wheels though I may extend this further as I build this laser and router model out. Why did I make my back wheels with circles for the axle instead of one solid one? If you have a solid axle in the back then both wheels need to turn at the same speed which is fine if you are going straight but if you turn, this cannot be the case – which is why cars and trucks have independent back wheels to not break the axle and have good traction in turns.
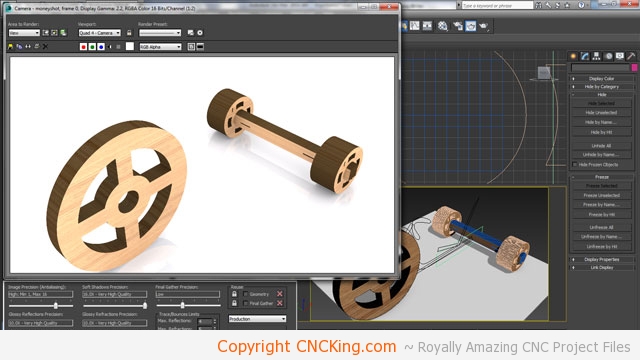
I added slots into the axle to help create a bit more strength and to help make sure that these axles will be as square as possible. The wheels in teh back need to be held in place by locking them from going outwards and moving inwards too much.
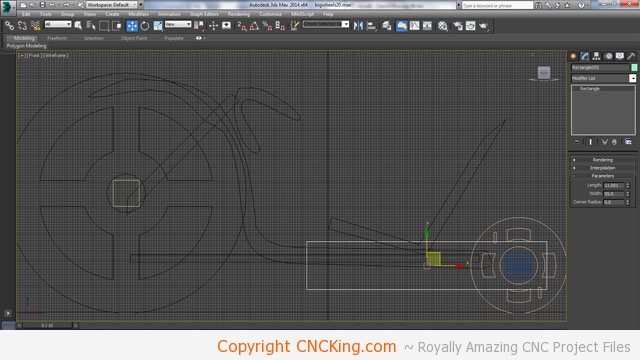
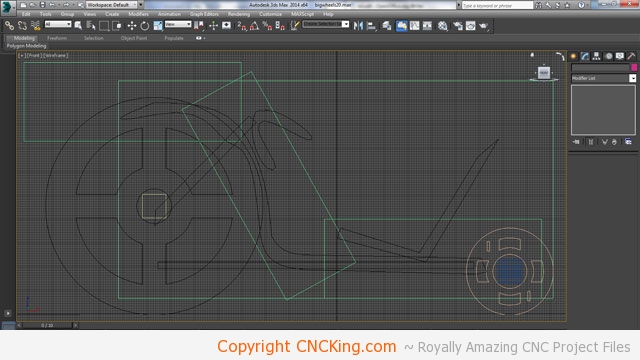
The rectangle I’ve highlighted is the maximum one-tile-sheet that I have to play with and as you can see, I’ll need to make it much longer to get these parts made. The challenge here is that because I have to use more than one tile, it will be angled upwards meaning I’m severely limited as to how many I can fit on a tile.
I think I’ll be lucky if I can fit more than two of these long pieces going from the back all the way to the top of the front wheel. If I had a full-sheet router, this wouldn’t be an issue but as my maximum piece width is 60 cm at most, my tiles will be quite a bit messy as I try to fill the gaps. I think I’ll need about 6 of these full-length parts on both sides of the steering wheel meaning the necessity of 12 of them as they will hold my weight. I will add cross members to increase their strength but even so, I’m using lots of plywood for this project that would actually be far less if I didn’t have to resort to tiling in the first place.
