Sydney Harbour Bridge: CNC Laser to Router Conversion 8 ~ Toolpaths Done
This is the final step towards getting my laser cut Sydney Harbour Bridge ready for my ShopBot Desktop. This is the first time I tool path a design that will need to be indexed because my cutting surface is only half the size of what it needs to be to successfully cut this project out.

Now that I’ve rounded everything on the bottom span of the Sydney Harbor Bridge, I just have to optimize the top. After it’s finished, I’ll duplicate it as I have four spans, it takes about 10 minutes to optimize each one but only a few seconds to duplicate it. Be efficient with your time!
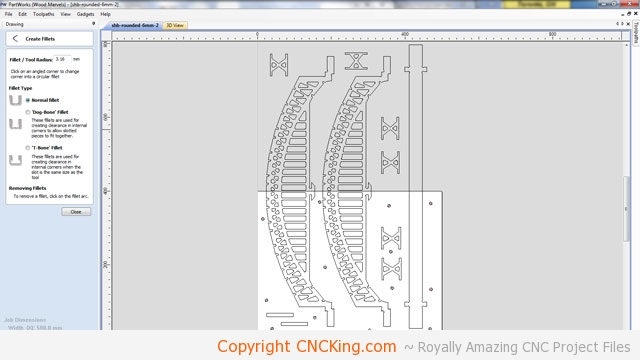
The shapes are now finished being optimized, time to create the toolpaths!
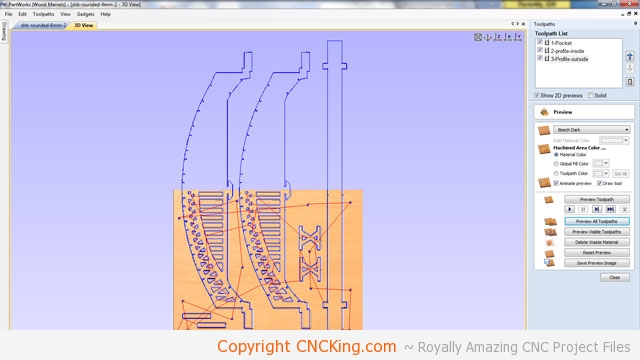
The Sydney Harbour Bridge toolpaths are looking good – I added some tabs long the top of the edge to make sure that when I move this piece down to be cut with the CNC table router, that those large spans do not move. I can now export the toolpaths for pockets (screws) and profiles (inside and outside).
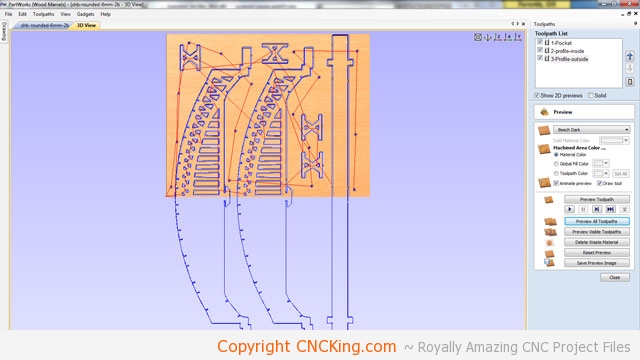
The top part of the first set of double Sydney Harbour Bridge spans is now toolpathed using the same steps I used to generate the bottom part of this sheet. I can now export the toolpaths for pockets (screws) and profiles (inside and outside).
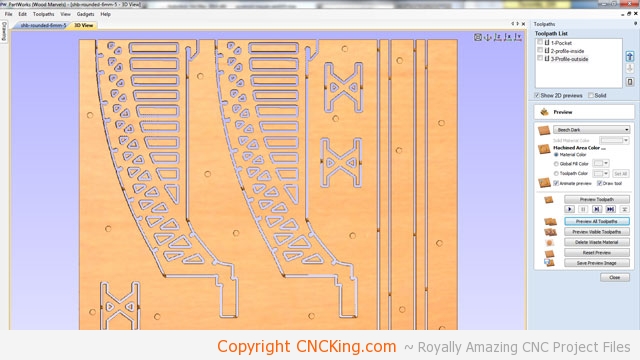
I noticed one of my triangles was still square in the span which I fixed in this file and went back into the previous sheet to fix as well. This is why it’s nice to have several different cross-checking systems established in your workflow. In this case, it wouldn’t have made a different anyhow as even a square inside shape will be made round by the router but it would have affected the 3D render and resulting 3D animationI use to promote this product with. Overall, this project will take six sheets.
NEXT STEP IS CUTTING!