Sydney Harbour Bridge: CNC Laser to Router Conversion 5 ~ 2D Exporting to Adobe Illustrator
Just to recap the design process I’m sharing here on CNCKing.com, the 3D modeling of the Sydney Harbour Bridge CNC model is done it’s initial editing from 6 mm to 4 mm so that I could make it larger for my ShopBot Desktop, digitally, that editing is done. Now, onto the second part, editing and optimizing the 2D vector files
Now I need to go through a slightly convoluted workflow as I want to show dogbones in this model to produce a more accurate CNC table router model. This means I need to export all these pieces into 2D line drawings, apply dog bones etc.. and then bring them back into 3DS Max to rebuild the model. This is why it’s sometimes easier to just design a new fresh model instead of trying to modify an old one.
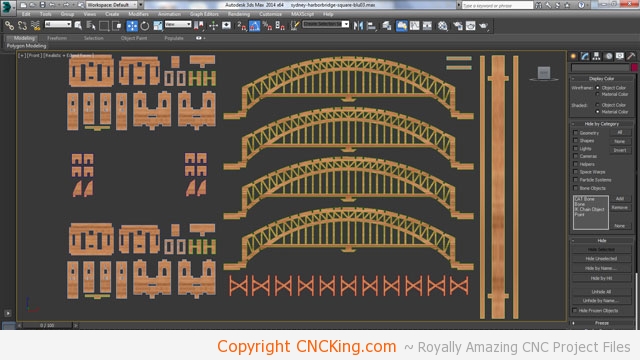
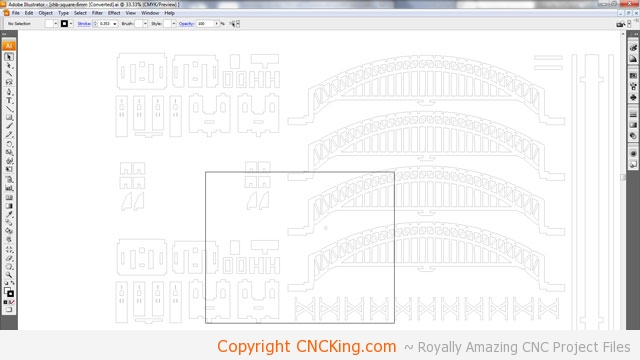
As you can see in the above picture, there aren’t too many parts in this model once everything is layed flat, that’s for two reasons – I want to be able to build this easily with as many intuitive parts as possible and people will focus on the spans the other parts just play a supportive role without the need for lots of detail. These are still extruded so I need turn them into 2D vector files. Sydney Harbour Bridge CNC model is starting to take shape vector wise at this point as I can’t create paths for 3D objects in my software.
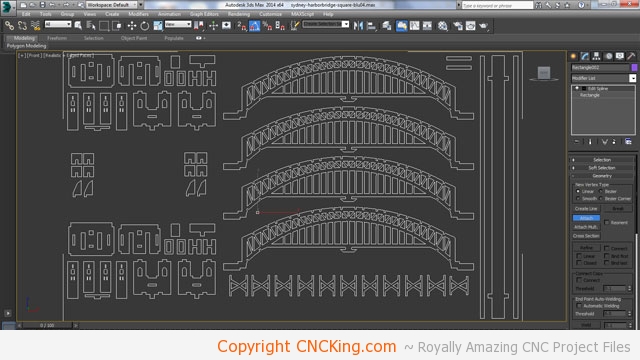
I got rid of the depth and added a small square that represents material thickness – this is vital because otherwise, I don’t have a way to easily scale a drawing up or down correctly as I no longer have 3D parts. I now export this file as a .AI (Adobe Illustrator vector) file format.

Now that I have the 2D vector file open in Adobe Illustrator, you see why it’s so important to make that little square in the previous step. Notice how my 4mm square on the Sydney Harbour Bridge CNC model plans has now magically scaled to 10.16mm? There would be no way of knowing this unless I made the square in the first place. What I want to do is cut this project out of 6mm thick material so I need to scale it down accordingly.
10.16 x ??? = 6 mm
thus 6 / 10.16 = 59.055
so
10.16 x 59.055 = 4 mm I want
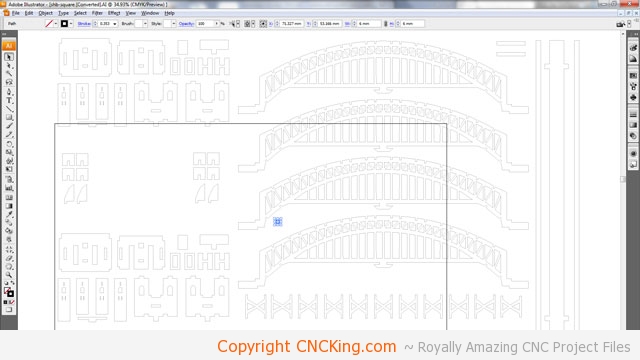
Now the square is exactly 6 mm square which means that the whole drawing is now scale perfectly to use 6 mm thick material. Because I made everything fit a grid that was 6 units cube, I can easily scale drawings up and down which wouldn’t be possible otherwise.
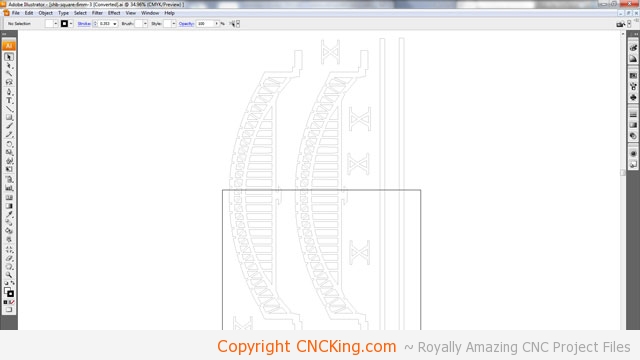
Before I proceed though to PartWorks to create the tool pathing and dog bones necessary to CNC router this Sydney Harbour Bridge CNC model, I still need to get all these parts onto the same sheet size that I’ll be using which is 6mm thick, 500 x 400mm. As you can see, everything will fit within these parameters except for the spans – an issue I’ll have to deal with later.
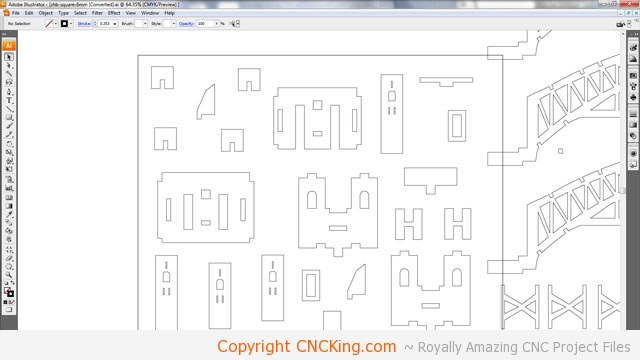
Although I could technically do this process within PartWorks (ShopBot’s tool pathing software), I prefer to do it in Illustrator as I seem to have more control and I’m more comfortable with the tools it has than PartWorks. Each software application has it’s strengths and weaknesses, just like CNC machines so I try to use each for optimal efficiency. Before moving too many parts around, I group the vectors together that form one part so the program knows not to separate them otherwise inside parts are not linked to outside ones and as soon as you move one, the other won’t move with it – causing your design to no longer work.
This may seem like a very chaotic layout – this is a major difference between lasers and routers is physical contact with the sheet – in this case, for a router, I want to give myself optimal placement for screws while at the same time, avoid any continuous lines going from one part tothe other as each cut will weaken the board. This of it like a brick wall, you don’t just stack the bricks one onto pthe other but stagger them for greater overall wall strength, CNC routering parts is no different. I was able to place all the pieces that make-up the tower on one sheet which means I’ll be able to cut that sheet twice to make-up all those parts.