Sydney Harbour Bridge: CNC Laser to Router Conversion 4 ~ Almost Digitally Done!
Yeah, it has taken several hours now but we are almost done the first part of converting the file from CNC laser to CNC router friendly here on CNCKing.com!
Now we see a big problem that wasn’t apparent previously – the spans aren’t symmetrical with the road. This most likely occurred when I doubled the spans, I must have doubled one on the inside and the other on the outside. Without centering the model, I probably wouldn’t have realized this until far later in the redesign of this project. This may look trivial but when you consider this means the road isn’t symmetrical nor would the interlocks coming from the spans into the towers on either side, a tremendous amount of time has been saved already! I want the spans to be dead-on the grid at all angles – it’s far easier to modify this now.

Now that the entire bridge is symmetrical onto a center point, the rest of the model will be far easier to modify correctly.
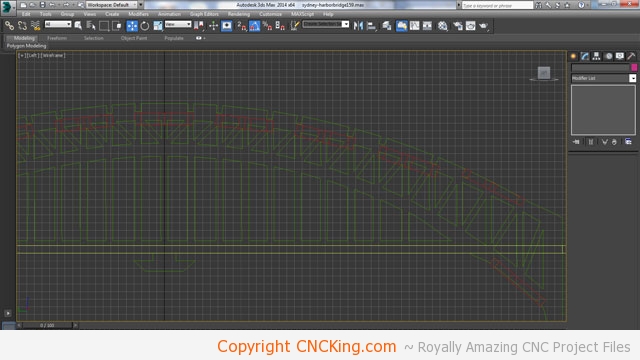
Another point of contention that I have to deal with are the cross members going all the way along the top of the double spans. Making them thinner (6mm to 4mm thick).
Unlike the original model, I made both the front and back of the tower the same… this model was designed a long time ago and since then, I’ve learned that the more pieces I can have that are the same, the easier the cutting and assembly process is. Although I could mark the pieces so they stood out, having two pieces that look “similar” isn’t much fun when you have a pile of 50 pieces looking at being assembled.
Looking at the tower, there are still lots of issues to resolve, as this is to be made with a CNC router, I built into the model lots of additional tolerances and also made the bridge wider in order to make the entire model all the more sturdy.

Now that all the top parts are aligned to my grid, I know that it will work when finally assembled. The tricky part of redesigning a model digitally to a different scalable material size are the endless small changes that need to be made in order to have a completed project come together in the right way once individual parts are locked together to form larger pieces.
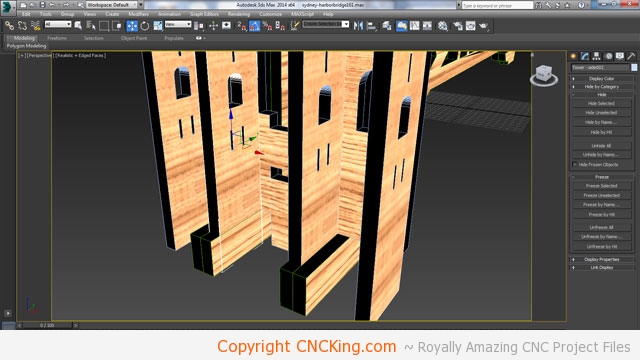
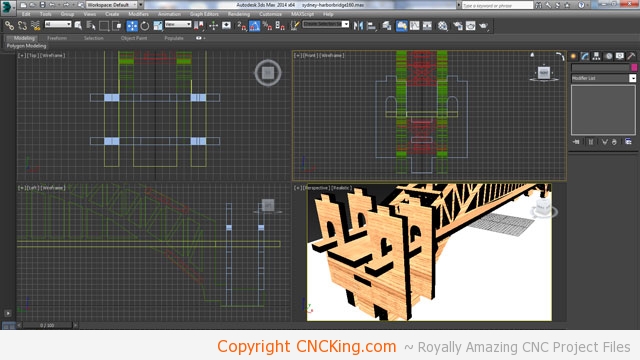
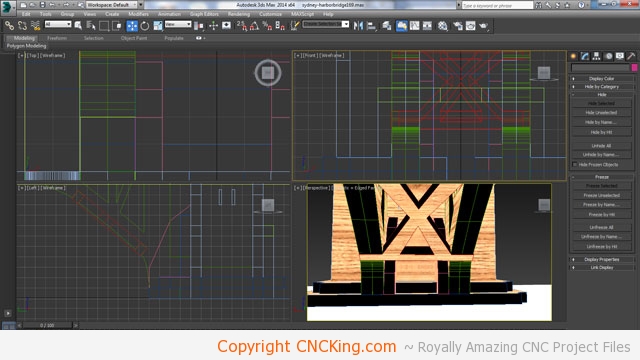
What you see here is impossible in the real world, the long side of the tower goes right through into one of the double spans – you can’t have two objects occupy the same space except in the virtual world. There are three obvious solutions to solve this. One is to move the spans out of the way by either making the road wider or thinner (affecting total span width) but that would require extensive renovations to the span cross-sections and cause other issues in the tower itself. Another option is to have the intersecting span (online the inner span is affected) cut short to give room for the side but that would cause stability issues that I’d have to deal with later or, the simplest choice, cut the side panel down.
I went with the third option, I’ve found that the simpler way is usually the best way. Now that this is resolved and I have the spans going through the towers along with the roads and sidewalks – I can sort out the issues at the foundation of the bridge which will be extensive as each of the parts you see in the picture will need to fit into the base securely.
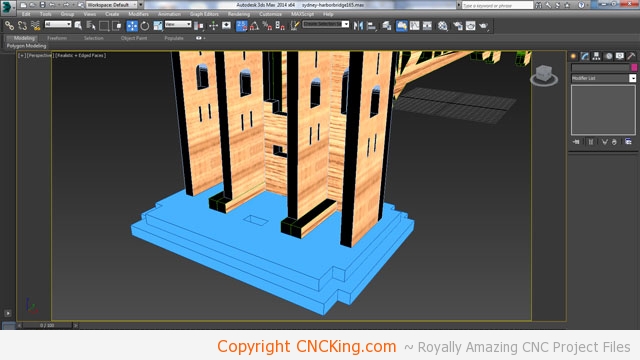
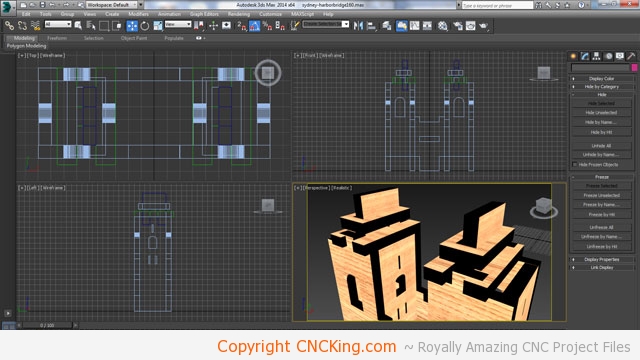
What I like to do for more complex models is to remove their textures so that any issues are easier to notice, in this case, the two base plates needed far too many changes so it was quicker to just rebuild them from scratch to fit the new bridge platform.
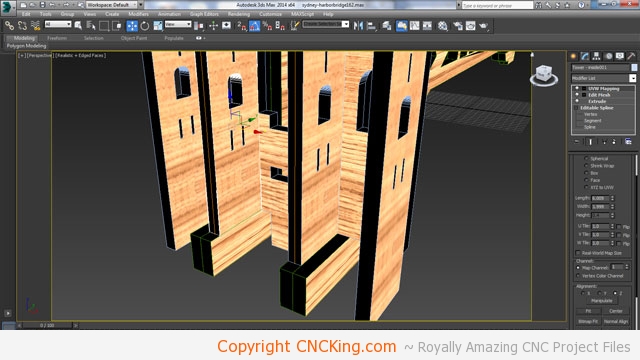
The front of the tower is now done with the last interlocking part. I just need to fix the interlocks that appear under the bridge span to make sure those pieces are all correct as well. This is why it’s important to build projects that don’t use too many pieces – optimal design for application will save you a ton of time if any changes are required.
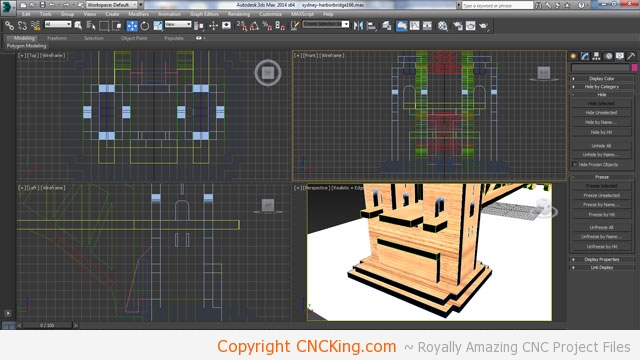
Now that the under the bridge details are sorted I need to check each piece individually to double-check all my interlocks are correct.
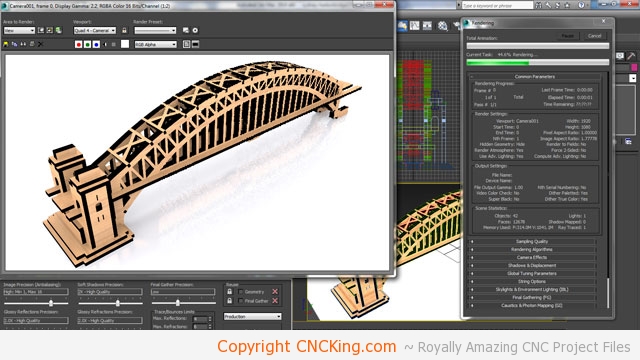
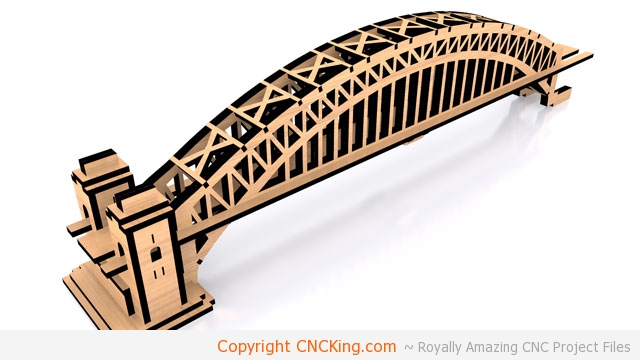
After a few changes, it’s time to render the project out to see how it looks – it’s far beefier than the original laser model but this was unavoidable… it will also be far stronger than the laser version as well! Visually everything looks fine so I can now clone the tower to also appear at the other end of the bridge and then export the parts to be cut with my router.