Japanese Miyajima Gate: Laser Cutting and Assembly
After laser cutting and dry-assembling my Eiffel Tower, I had a need to make another complex model as it went so well. My CNC laser version of the Japanese Miyajima Gate, available on CNCKing.com, was at the top of my list to be cut out of 3 mm hardboard.
I have yet to find a good supplier of 4 mm plywood so I’m stuck using hardboard, I could use my 6 mm thick plywood as well but I wanted this whole model cut in one shot, hence the thinner board which actually made this laser model about 3/4 of the original size I had intended to cut it at.
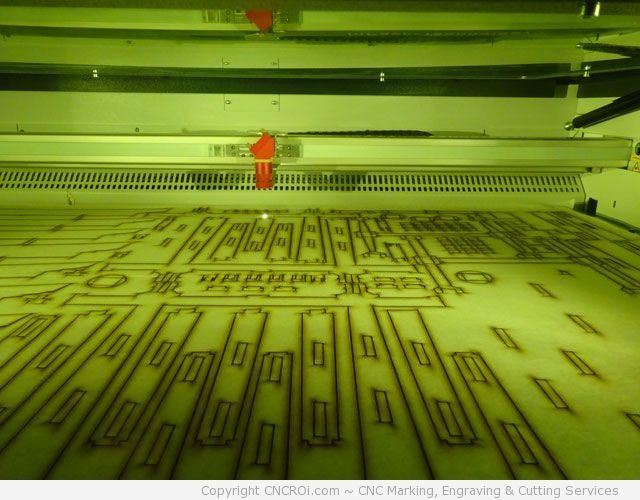
I’m very impressed with my Trotec Speedy 400 flexx when it comes to cutting – it’s consistent, powerful and clean (cut wise, it still produces plenty of smoke). Each time I cut one of these models, I’m so happy it has a gas assist hooked-up to it, it means the air going down along the laser is coming from my compressor instead of an internal, far smaller and less powerful, air compressor. I can sometimes see a flame thinking of becoming signifiant and instantly, with 35 to 50 psi (material depending) wipe it right out.
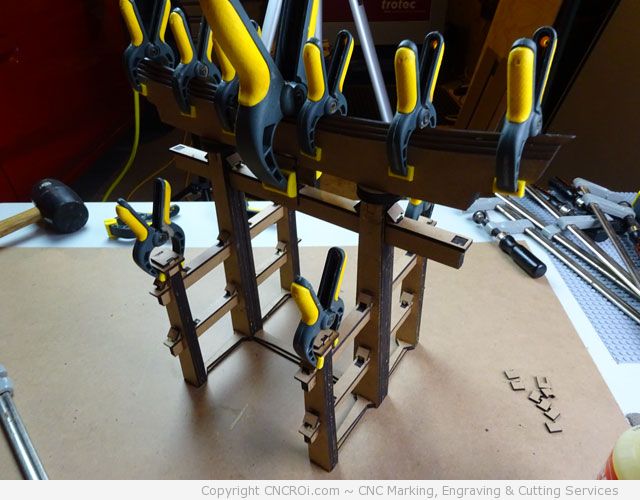
Using my paper over the model during cutting saves me a crazy amount of time that would otherwise be used to sand down the model, it takes a bit of time to apply the paper properly and take it off each individual piece but compared to the alternative, a no brainer even if it costs more to produce. My clamps worked great with this model as well to hold things where they needed to dry in place – I can’t imagine life without them especially for such small and intricate models such as this one.
I did discover that the hardboard I’m using glues together far faster than the plywood I’m use to, after a few minutes, the bonds are pretty strong… so I have to be quick, efficient and get things right the first time to avoid having problems.
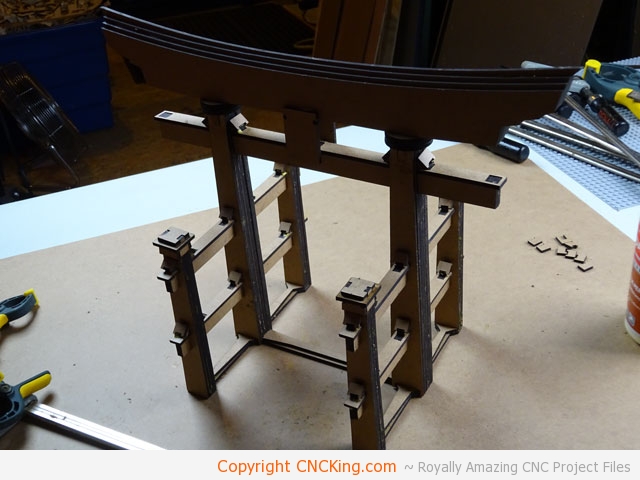
Here is the finished model – while building this model, I realized how much I enjoy designing these models in 3D as opposed to the traditional woodworking method of trial and error… rebuilding a model over and over again until everything fit properly is the definition of insanity, especially for something this complex!
If you want to learn how I put this model together, watch the video below and be sure to get my latest book where you’ll see the design process behind this model and a heck of a lot more. You can buy the laser cutting files at CNCKing.com under CNC Laser / Landmarks.
This model will be coming with me to the NY World Maker Faire along with a few others that I cut and have yet to assemble, see you guys there!