Designing a Simple Box
I’ve designed lots of boxes at the CNCROi.com shop, some rather simple with a few tabs and others bordering on “themes” and to be honest, those are the most fun ones as “just a box” becomes “wow, that’s cool!”
Today I had a customer who is need of a laser cut box so I figure I’d share the design process behind it. Now, the customer asked me for a simple tab box, I can pump that out in two seconds so instead, I want to present them with something extremely different and hopefully it gets their imagination going as to what my company can do for them.
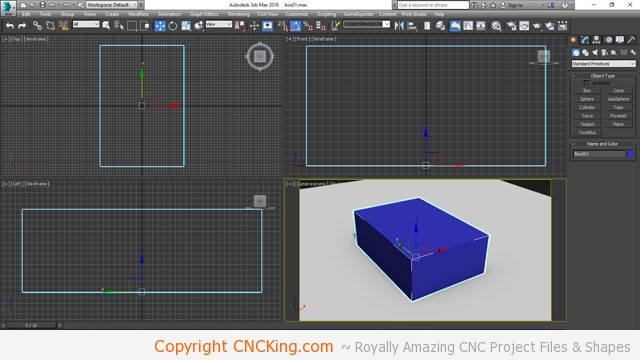
First step is getting the dimensions of the box from the customer (3.5″ high by 7″ deep by 10″ long), in this case, the measurements were given in inches so I did a quick conversion to millimeters. Millimeters are more accurate than inches and there aren’t any fractions involved which makes things easier. The spec also calls for quarter-inch material which is 6 mm thick which is pretty standard. This big box represents my design guidelines to fit into.
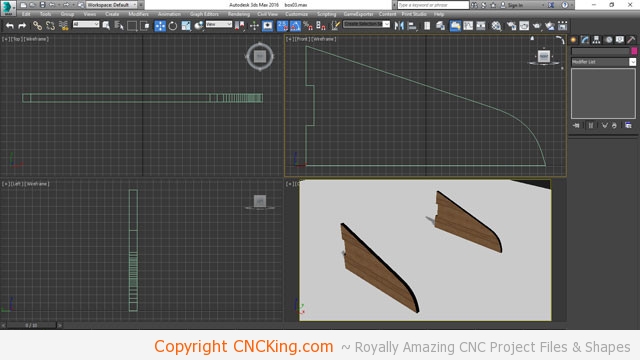
I’ve made the side pieces, I want things to sweep together, the side pieces define the height, length and width of the whole box so I no longer require the box placeholder you saw in the previous step. Now, it’s time to make the back of the box and another layer for the sides.
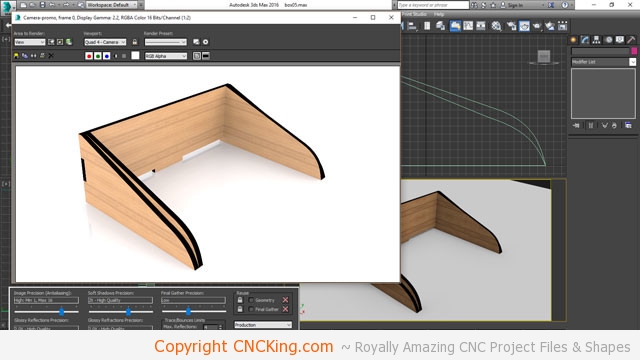
The front will be a bit of a challenge but I’m sure I’ll manage, I’ll also modify the sides so that the inner sweep has a tab to hold the bottom in place – that’s the purpose of the secondary one, to make it appear as if I only use one set of tabs. As this is a box, it’s easy to glue the side pieces with plenty of pressure to not require supports though I do, after the glue dries, sanding the entire box down.

I’ve now refined the sides a bit more along with getting the box to work better “under the hood”, now it’s time to make the top cover and in this case, I want to use something unique, leather! Leather doesn’t have much shape to it so my plan is to make a solid plywood cover and overlay the leather onto it and have that “snap” into place on the front gap. I’ll be using the laser for everything so this also gives me an opportunity to laser engrave the leather with my logo. The advantage of leather over a “living hinge” (plywood cut to bend) is that it won’t dry out or cause problems after too many uses.
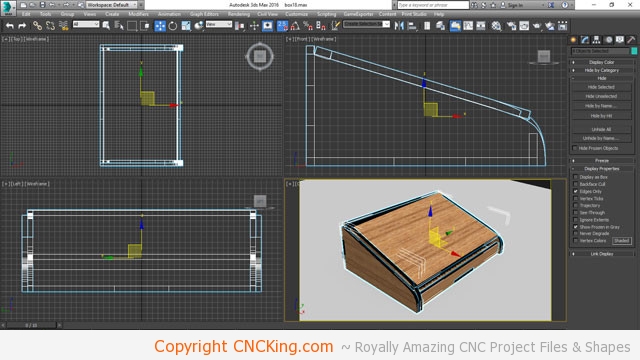
Having a solid top will keep the contents of the box protected while the leather that goes over it will give it some interesting esthetics. I also moved the front a little back so as to have room for a latch or whatever I come-up with while making this box work. The top will not fall “into” the box as the back has a tab and the front will have two inner supports to keep things securely in place. As such, I don’t NEED the leather in the front, I just think it will look neat.
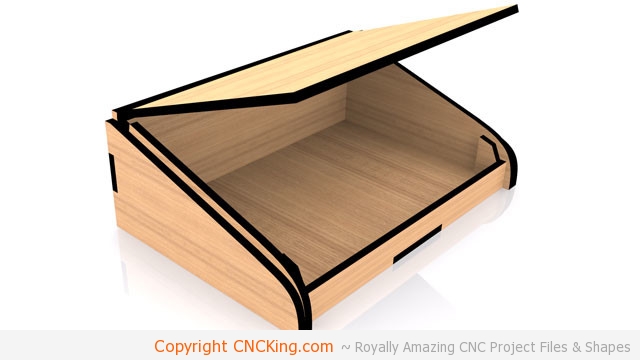
I tested out the hinge, next step is exporting all the files into 2D and creating the cut files for this project, something I’ve outlined several times in my book volumes so no sense in repeating those steps here on the blog.
