Designing a 3D Printed Pill Holder
I wanted to make a weekly pill holder but couldn’t find something I liked so I decided to design my own with my 3D Systems Cube.
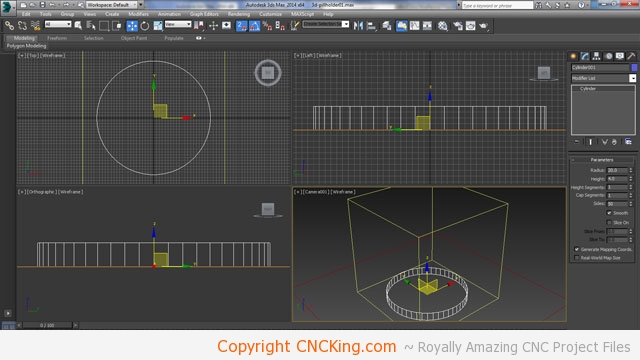
I want this pill holder to cover 7 days so my goal is to make the largest circular base as I can as esthetically, something round looks better than soemthing that’s square. I’ve already set-up my square working area.
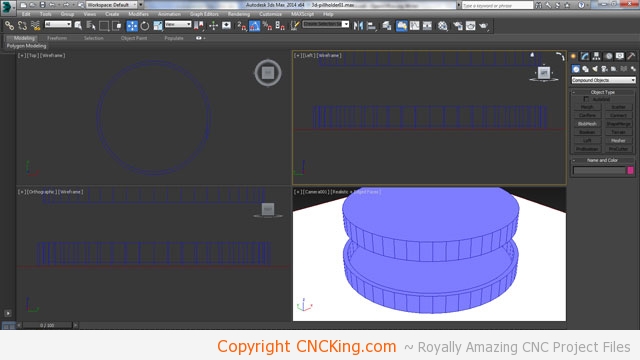
My building method here (for variety) will be removing layers from this base cylinder then adding an inner tube for the 7th day OR as a way to hold the rotation mechamism – I’m not sure at this point what the final design will look or function like but I have a few ideas that we’ll see how they end-up. So instead of using the lathe function, I’m just going to build this model using boolean unify and subtractive modifiers.
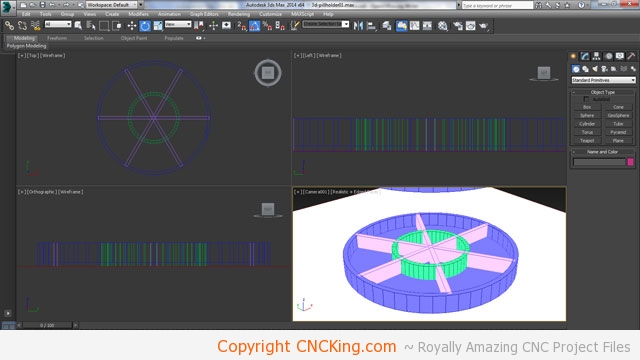
My idea here is to have 6 outer modules followed by a 7th in the middle. This way, everything will look symetrical instead of trying to have 7 divisions in the circle with a useless (too narrow) inner pointy area.
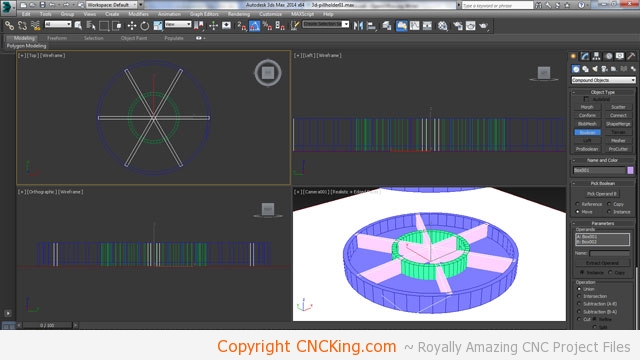
What I did here is unify the inner borders using a boolean modifyer and as I already know my inner and outer boundaries I’ll then create an inner cylinder and outer tube to cut these bits out. I’ll leave a slight space at both ends as well as within the structure to reduce the amount of material (and printing time) for this model as a solid wall or a semi-solid one is just as strong to hold small pills.
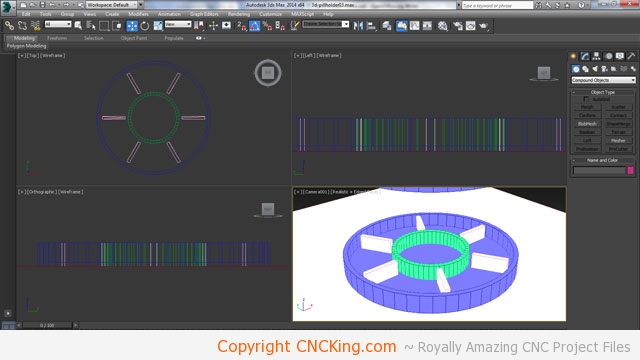
I now have the six dividers sorted but I want to add a littlebit more detail to them… I really like the caps I made on my Simple Medievel Walls bulding so let’s add that here using boleans. This will be very straight forward, just make a bunch of tubes in regular intervals.
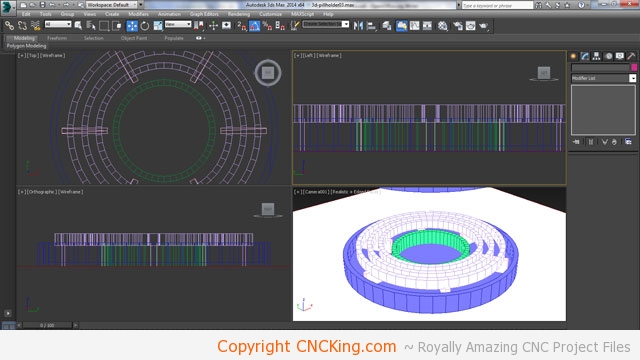
All I need to do now is subtract there three sets of inner rings from the innner dividers.

This look perfect – although this will sit on a table, I will create a cap that fits inside of the inner ring for reference.

I don’t want a tight fit but something with just a little friction but just to make things all the easier I’ve added a tab. This means that I’ll have to print this project in two steps. I do have a concern though about the pills being slightly too large to fit inside of this so I’m going to remove a bit more material from the bottom of this pill box and at the same time, create a small step design in the base of it just to add more visuals.
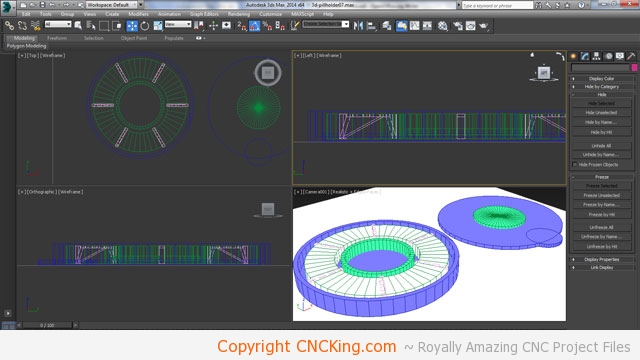
As I haven’t unified this model yet (each element is still separate, I can just bolean out the original cylinder with a wide tube which will remove an extra mm or two of material and still keep my dividers as they are not part of the model yet (they will be once I unify things).
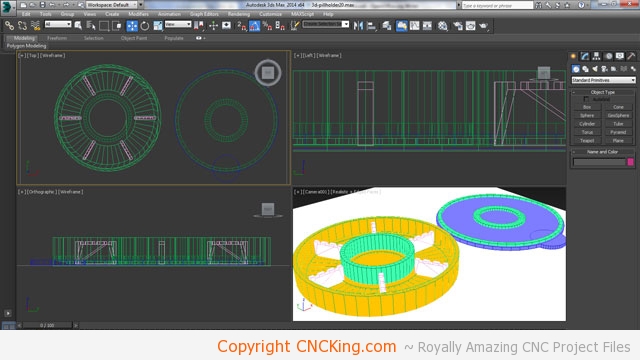
I did a few finishing touches, I added a little more height to the pill holder and also hallowed-out the lid so that it uses less material in the center where none is really needed while adding an outer rim to it that also fits inside of the outer rim of the pill box. I now have everything looking the way I want – time to unify the structure, export it as an STL file (after a STL file check) and move onto the 3D printing process.
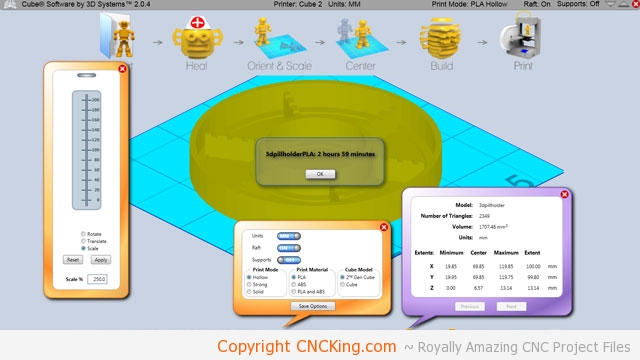
Roughly 3 hours to print this model, next up, the lid!
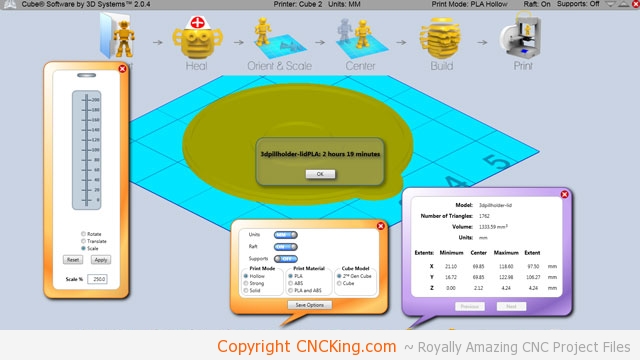
The lid takes roughly 2 hours so we are looking at a total of 5 hours for the entire build of this project! Next step is 3D printing this with my 3D Systems Cube!
