Designing a 3D Printed Cog Box
A gear (or cog as I call it) is an endlessly fun object to play with, I’ve used them quite a bit in the past across my laser designs (animation below) on CNCKing.com and wanted to make a simple 3D extrusion friendly project using one of those cogs.
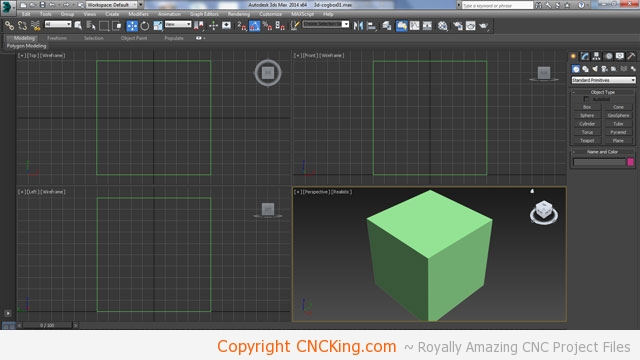
First step is deciding the cube that you’ll be building into which represents your 3D printer’s build volume.
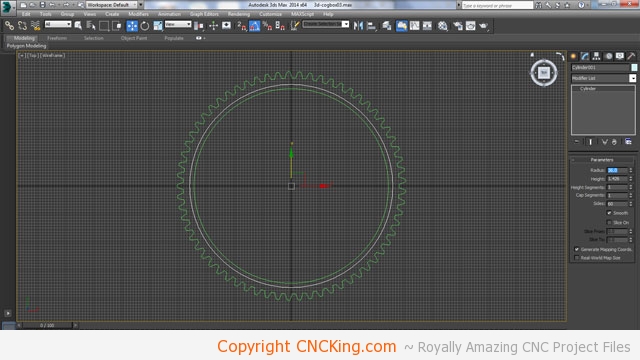
I now traced out a cog from another project I made (gear box) to fit into the square that I built.
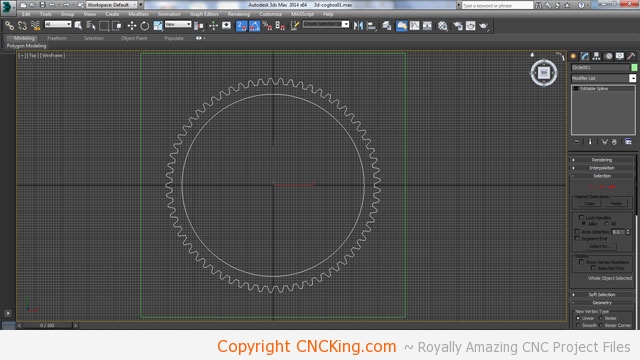
I’ve now extruded the cog to form the shape that I want, I gave myself some room.
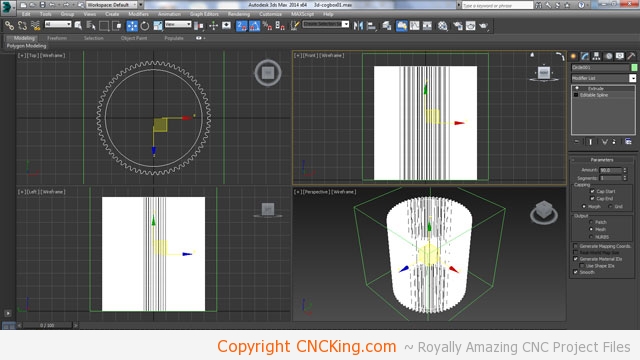
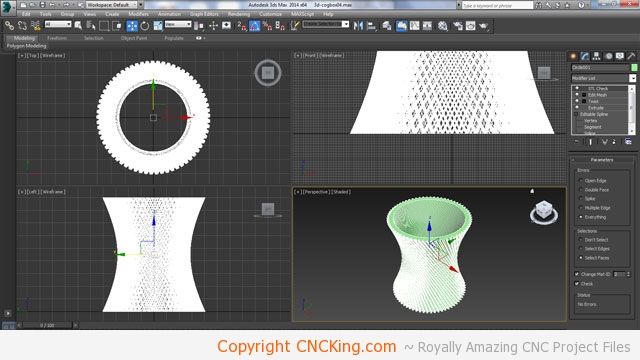
I’ve now added a slight 90 degree twist from bottom to top to add a little more visual appeal. I now have to make a solid platform for the cog box to sit on as otherwise, this is nothing but an empty roll. Now you know why I gave my self a little bit of room around the model so that I had more build options that still fit within my cube volume.

I decided to go with a simple cylinder to form the base but it seems to break-up the look I’m after so what I’ll do is stick it on the inside instead of having it on the outside so it becomes a hidden base.
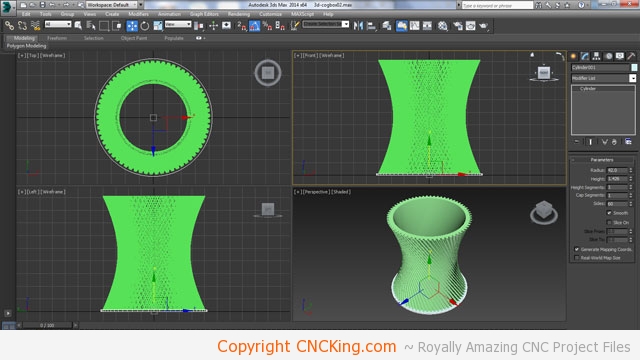
Hiding the mesh (extrusion and twist) allows me to see the original shape so it’s easy for me to scale the cyclinder to fit perfectly into the mesh in the X, Y and Z axis.
After I’ve unified the two shapes together, I ran an STL check and my mesh is perfect. Ready to be 3D printed!
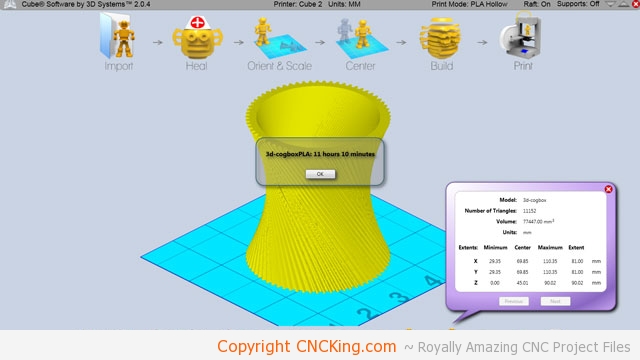
It will take about 11 hours to print this model using PLA – now that we have the build file, let’s bring this model from the virtual world to the physical one!
Next step is 3D printing it!
