CNC Router Sacrificial MDF Board Replacement
I have an amazing ShopBot PRSAlpha in my shop and it was time to replace the sacrificial MDF board on it, this is the first time I had to replace the top after a year of use, it was full of screw holes and other issues that “now I know better” not to do.
When it comes to CNC routers, I learned everything I needed to using the fantastic ShopBot Desktop which you’ve seen in countless videos on CNCKing.com, it taught me how to design better and really opened my eyes to the possibilities that CNCs can offer as up until that point, I never used much less touched a CNC machine.
I really can’t thank ShopBot enough for designing and fabricating the ShopBot Desktop, it was truly a revolution that in hindsight, help me out tremendously as their affordable solutions introduced me to a whole new world that until that point, I had only focused entirely on the virtual design aspect, now the challenges involved with making something in the real world.
I got my ShopBot PRSAlpha used, it sat in a barn for many years and although it was full of cobwebs and the like, I did a quick test on it to make sure it still worked then took it apart and brought it to my shop where I had a few big cabinetry and live edge jobs to do ASAP.
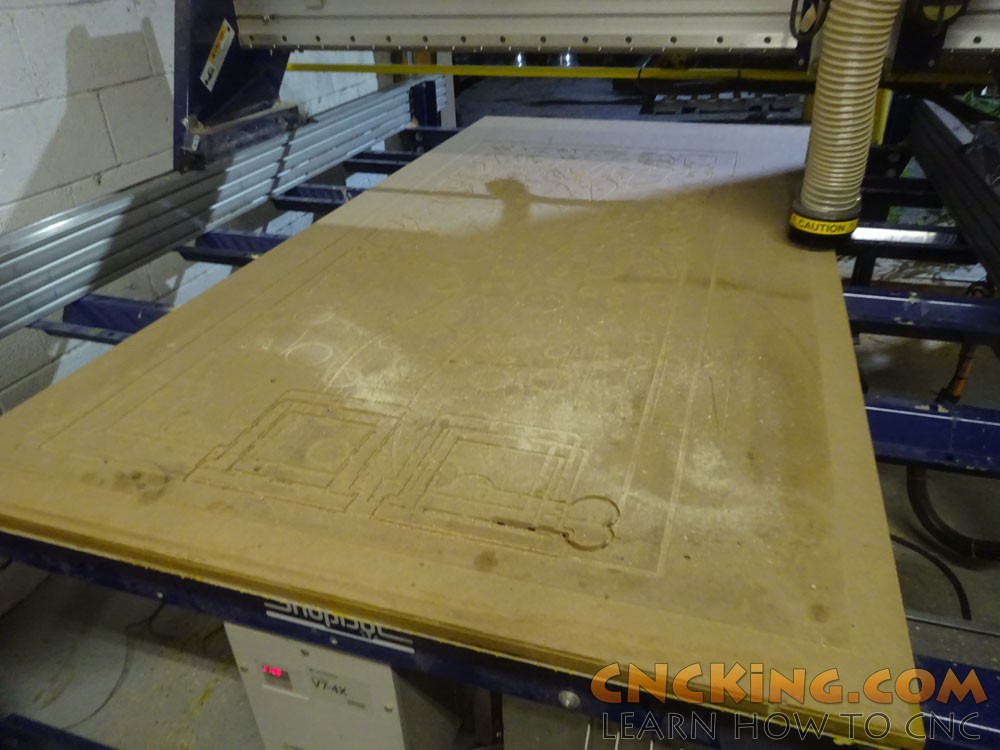
As my entire background with CNC routers to this point where with the ShopBot Desktop where screws were the best way to hold down material, when I didn’t have full sheet jobs, I resorted more often than not to the same method on my vacuum table.
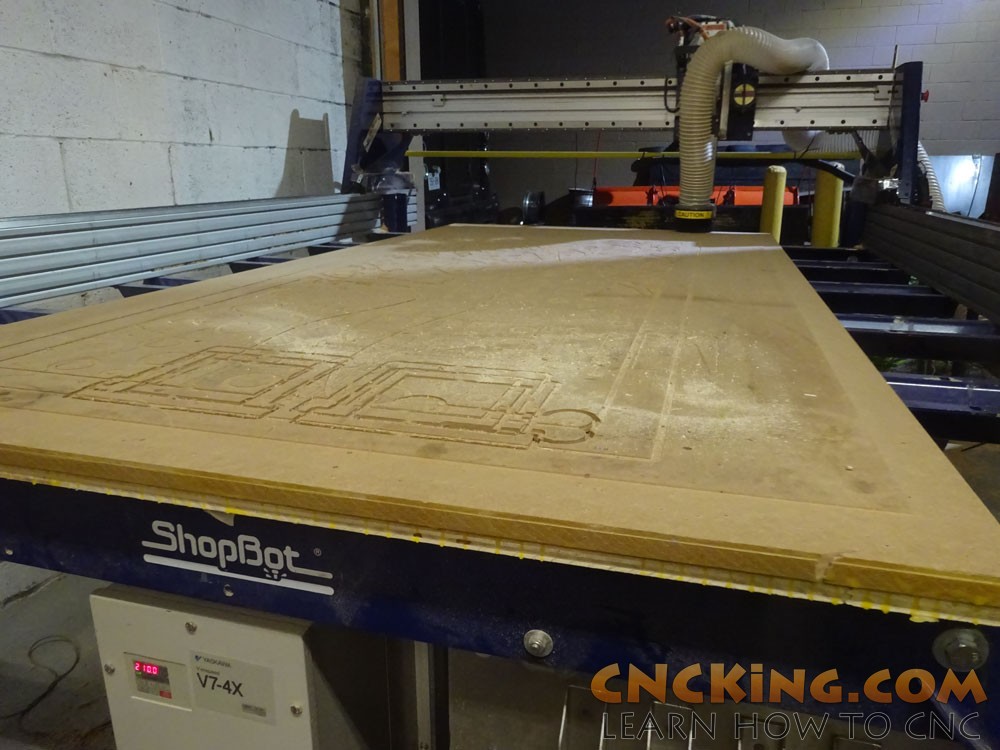
In hindsight, not the best idea but it still worked great when I needed it though the holes were starting to affect how much suction I was able to achieve on my sacrificial MDF board surface.
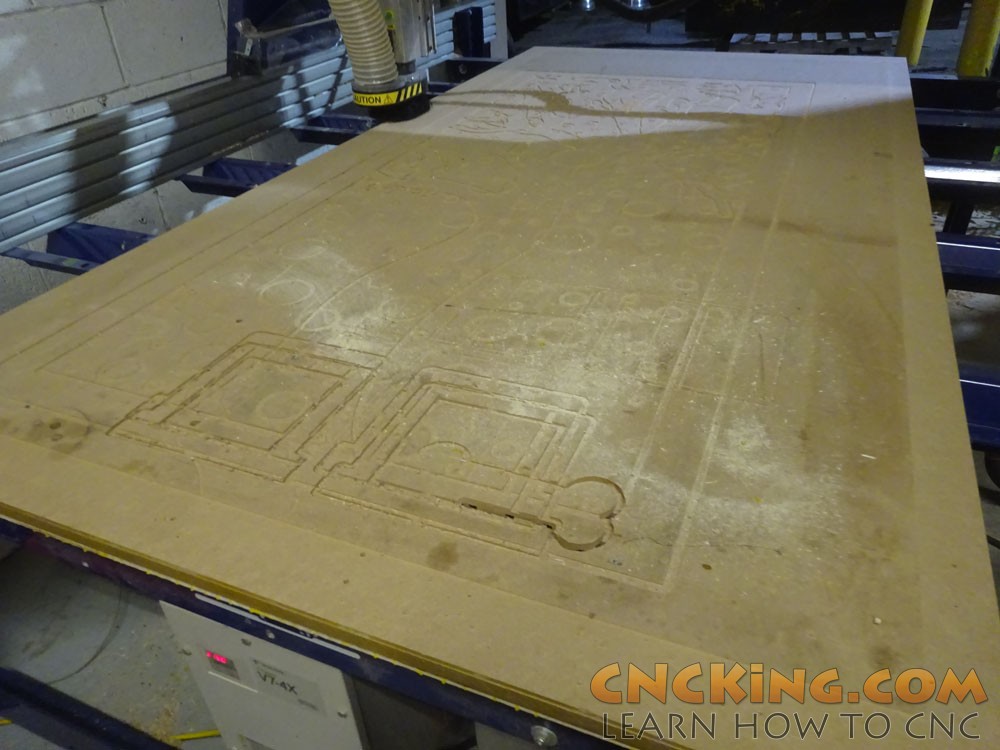
As everything is glued together, my first step on my thin and full of holes sacrificial MDF board journey was just to CNC router it right off, I always made sure when I did use screws that it didn’t go all the way down to the plywood which holes everything together underneath so I didn’t create a hole on the underside of my table.
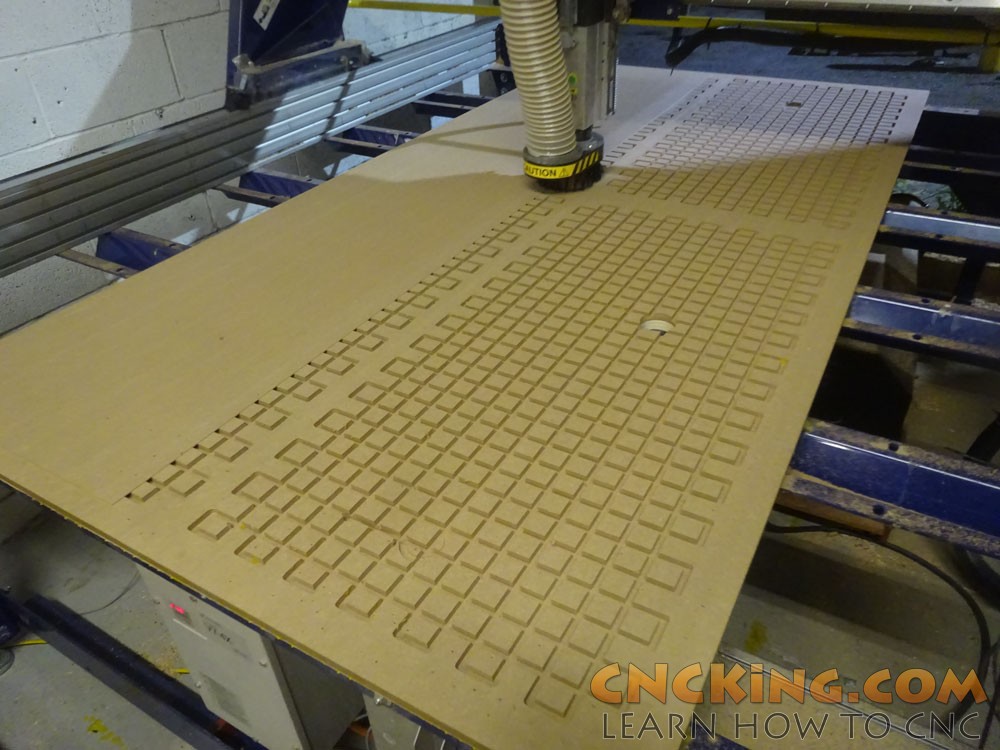
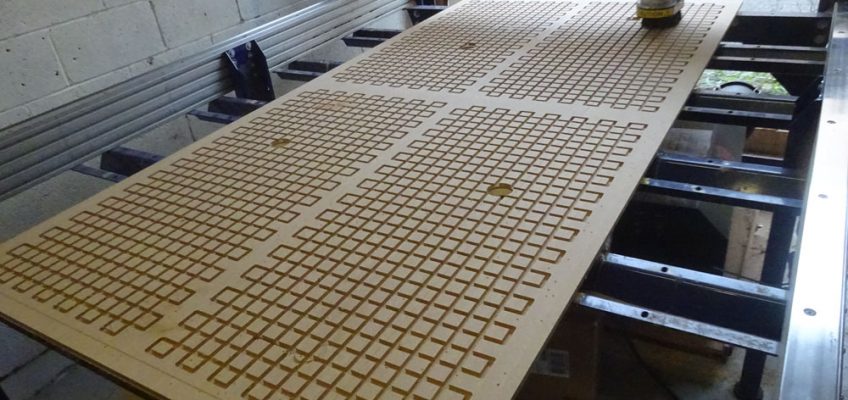
Shaving off the sacrificial MDF board revealed the channels I made a while back for the surface of my ShopBot PRSAlpha as I wanted to start all fresh when I first acquired this massive machine and that included the table itself.
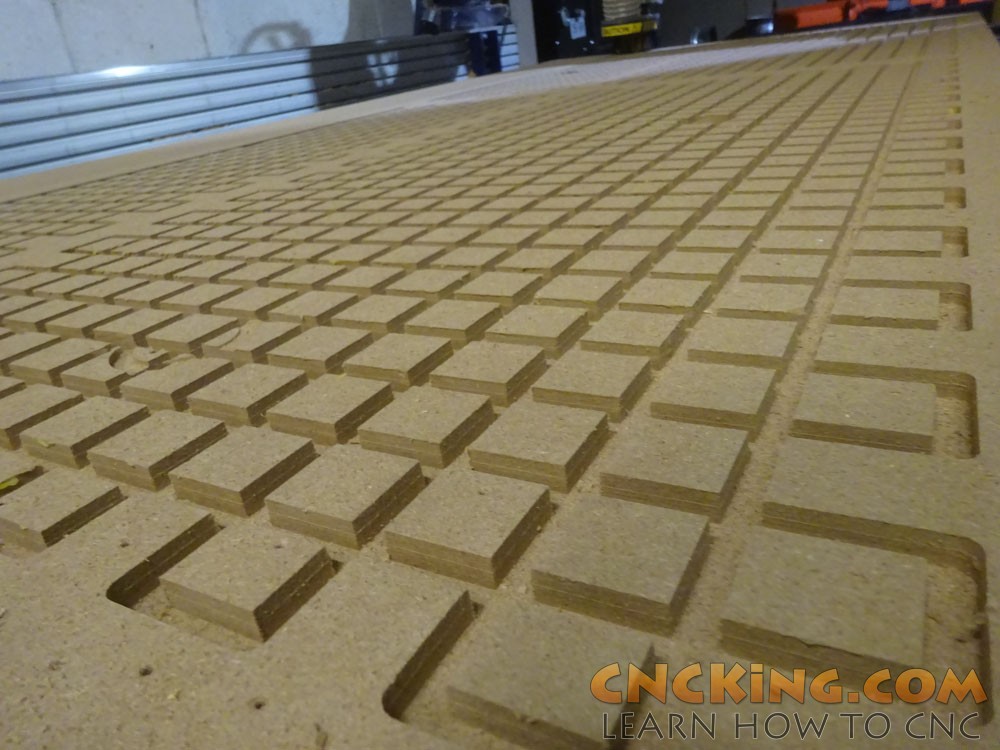
You can see that overall, the channels look to be in great shape, there really is no reason to remove or shave this off at all, so I just removed about 1/16″ off the channel MDF to make sure everything was dead flat now that I had two new legs and removed all the glue that was present on the top of the squares and other non-routed bits.
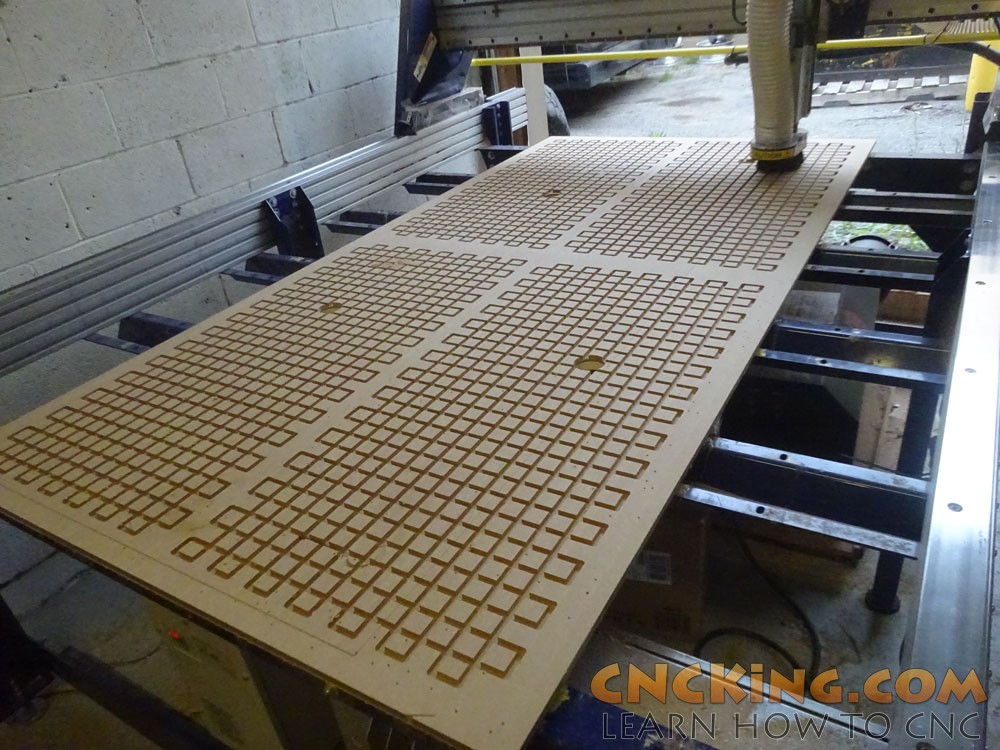
As MDF has a thin sealed film on both sides, otherwise the rest is porous, the first step in replacing the sacrificial MDF board on my machine was to remove a few mm off the surface I intended to glue onto the channeled MDF below, to hold this in place, I just used my vacuum table.
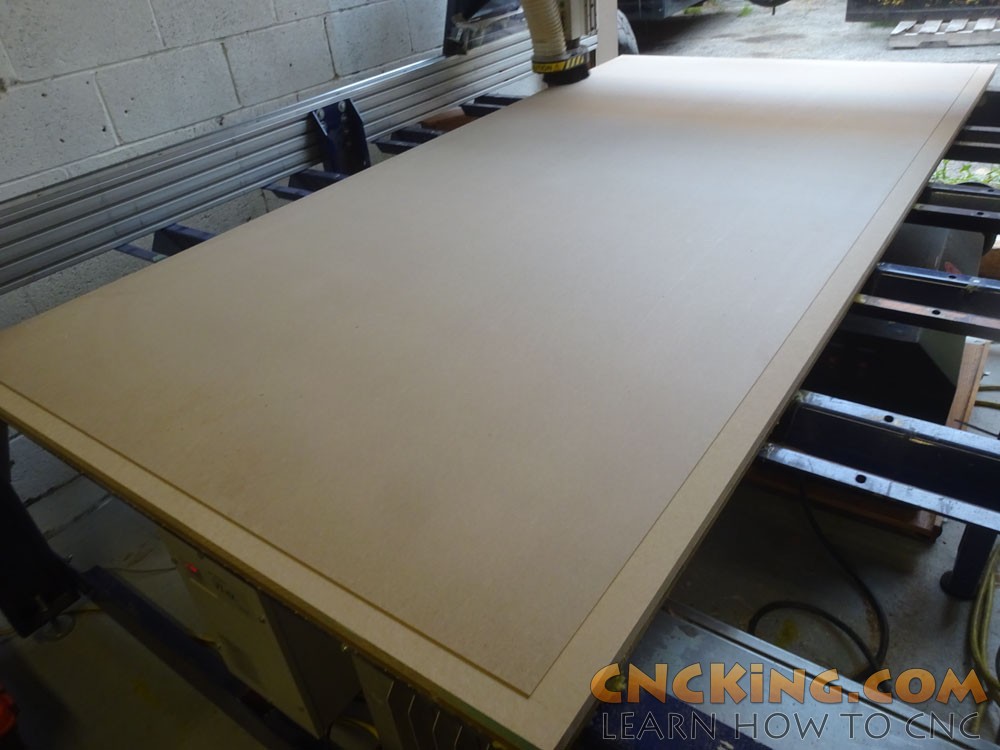
After the two pieces were glued together, I ran the vacuum system for about an hour, this helps dry the glue and suck it down very tight as I only removed the film on one surface of the sacrificial MDF, not both, so a very good seal can be established.
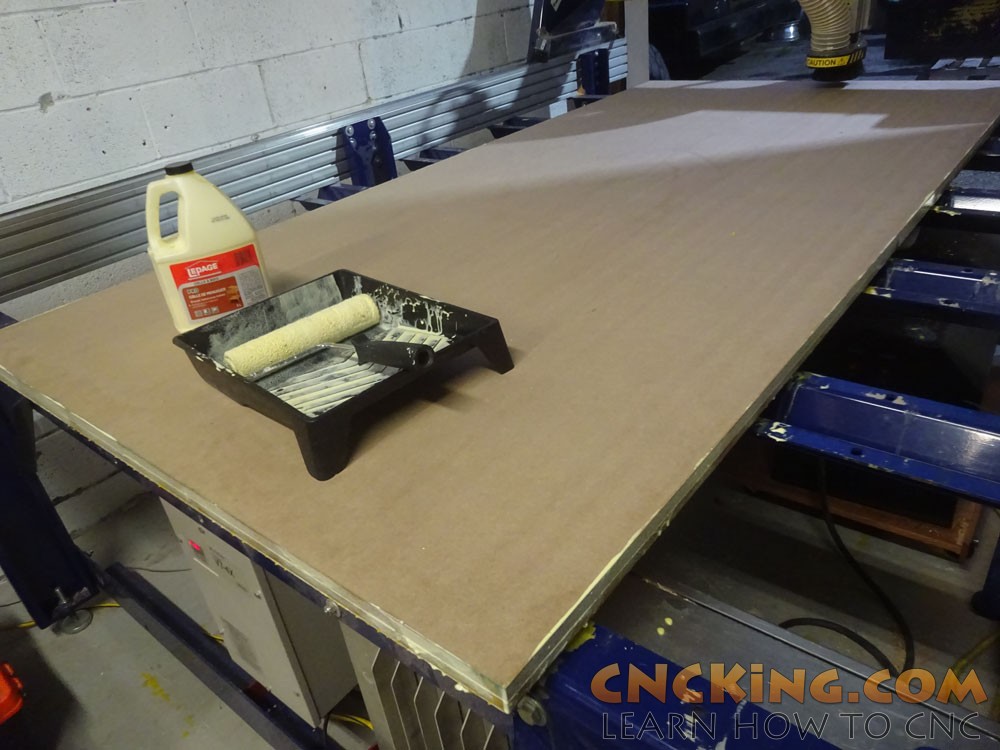
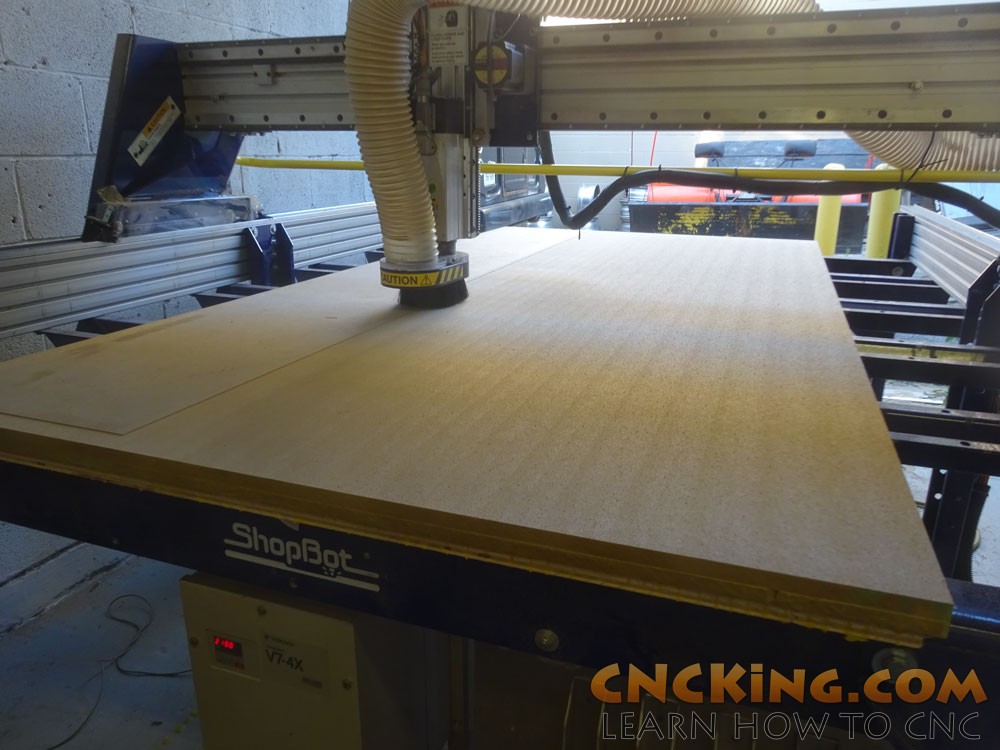
During the glue process, I applied several coats of glue to the edges of all the sheets, this makes sure those are sealed as well and then the next step is shaving off the top surface of the new sacrificial MDF so it’s flat and ready to suck stuff down.
You can get files for your CNC router, laser, waterjet and plasma at CNCKing.com.

