Bird House D: Designing a Glueless and Nailless Bird House
It has been a while since I designed a simple bird house here on CNCKing.com so it’s fun to redesign things with the knowledge I’ve gained over the past few years to see if the results are better. Here is what my first attempt was like.
This one is designed more towards laser than router simply by the tight tolerances (some parts are very thin) but I’m sure if it was scaled-up to 8-12mm if cut with bit a 1/8 inch bit or just using a smaller bit there wouldn’t be any problems.

First thing to establish is the size of the bird house I’m building, this model will be roughly 25 cm square with holes across three of the sides.
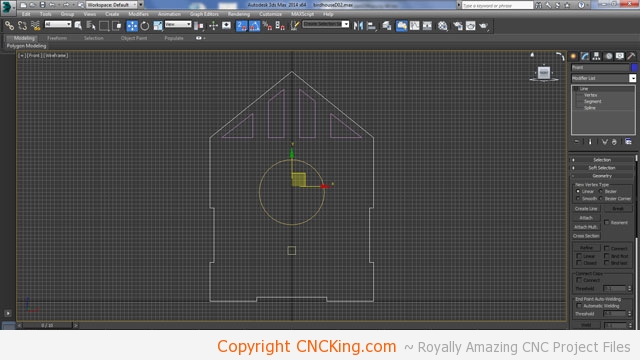
I’ve now added a few additional details to make this model slightly more interesting. If I was a bird, I’d like to have a skylight or a way to see through and inside the house without actually being on it while flying in.
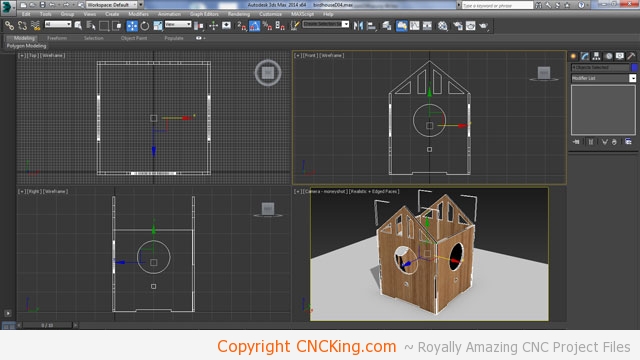
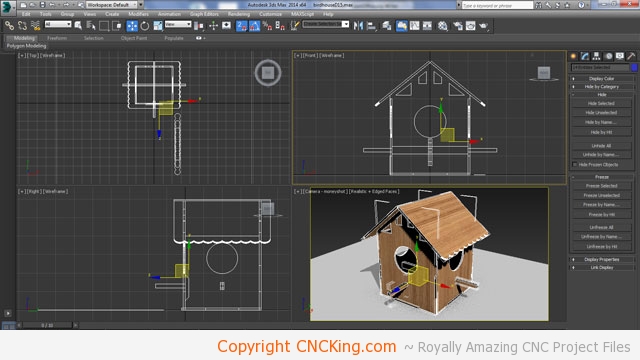
The house now has four sides, three of which with a hole and one with a solid back to protec against the weather. These options are easily modified in the 2D exported files so customizing this to suit your needs isn’t an issue to suit your liking and environment.

I have one doubled-up peg going all the way through on the sides and one coming out in the front that is locked into place after being glued to the inner wall. I also dropped the side walls down to give me room for the roof to slant all the way down.
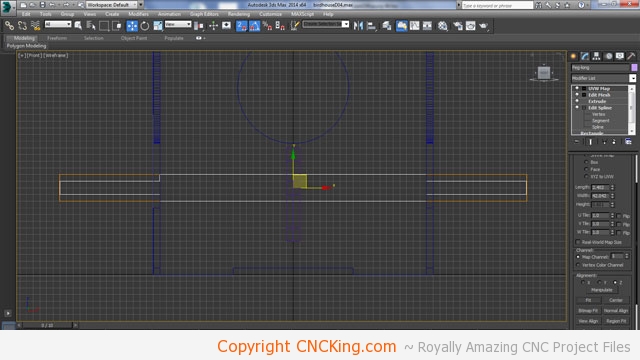
the peg that’s going all the way through on the sides has been modified to be locked into place so both sides can now be tightened. This helps to lock things in place and increases the strength of the overall bird house.
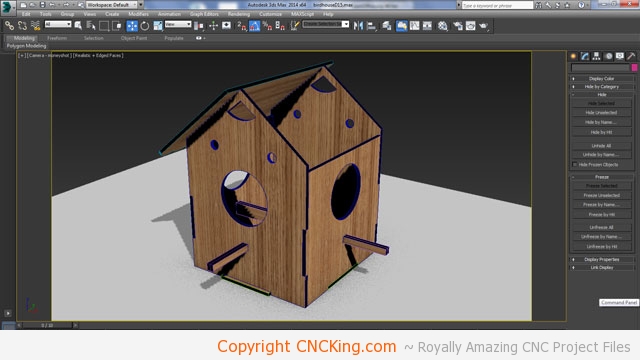
The base is finished and I made a slight lip in the front for easy positioning and the roof panels are identical so the builder doesn’t need to worry about which goes where. The simpler and pieces and the building process, the more enjoyable the project becomes. I think I have too many holes in the top and they are too large so I’m going to segment them differently. These holes also double as a method to hold the entire bird house in a tree by having a string go through the sides.
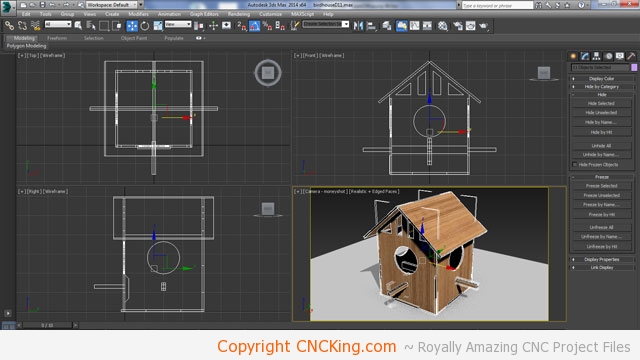
I added a little ornamentation to the side of the roof – again, this is easily removed in any 2D editing program so the fact that I have additional details doesn’t really detract from the model as they are modifiable without needing any extensive skill sets.
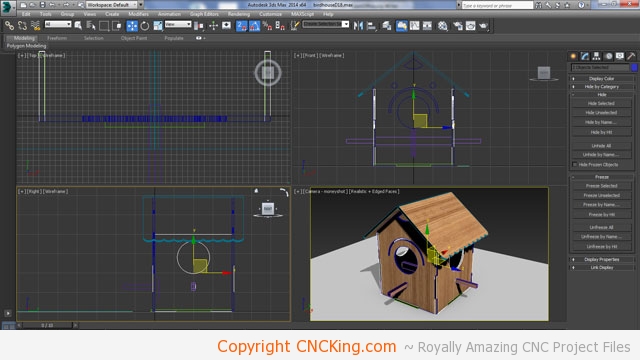
I found that the square window holes in the top were still too large and didn’t match the roof line so I got rid of them and made them rounded instead. This also make the hanging rope central to the entire bird house – it’s more stable now! I still find this a little boring so I’m going to add a few more details – which can be easily edited by a person buying these plans.
I think the design is almost perfect but I do see one problem, the bottom. I have one layer of plywood but if this is hanging from a tree, it might wear down and fall out as I don’t want to use nails or screws for this design. The simplest solution to this is to build a holder that glues into place on the side going from one side to the other that locks into the design itself so that even if no glue was used, the base would still remain in place. At the same time, this will increase the aeration in this bird house.
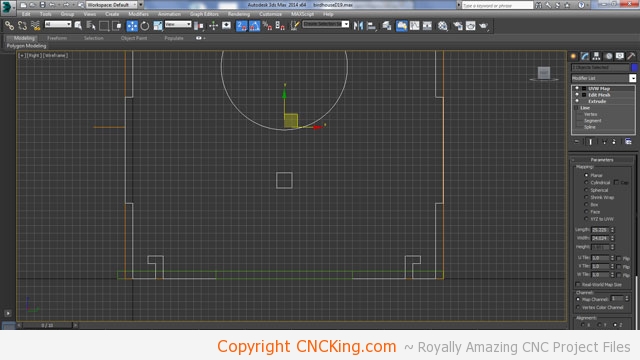
Having a locking mechanism like this makes perfect sense, slide it up and left (or right) and add a little glue – I’ve now dramatically increased the strength of the base, it will never come off onless the bird gets a pick axe and shovel.
I think I’m done – it looks good, is strong being reinforced from inside out and outside in. If I was a bird, I’d get a mortgage for this house for sure, hopefully monthly worm payments aren’t that high!