1956 Porsche Speedster: Laser Cutting & Assembly
This is the last project I build using this glue that I bought, it doesn’t dry transparent and seems to even stain the wood that I put things together with using it! Aside from that, this 1956 Porsche Speedster came out pretty well if you look past the glue.
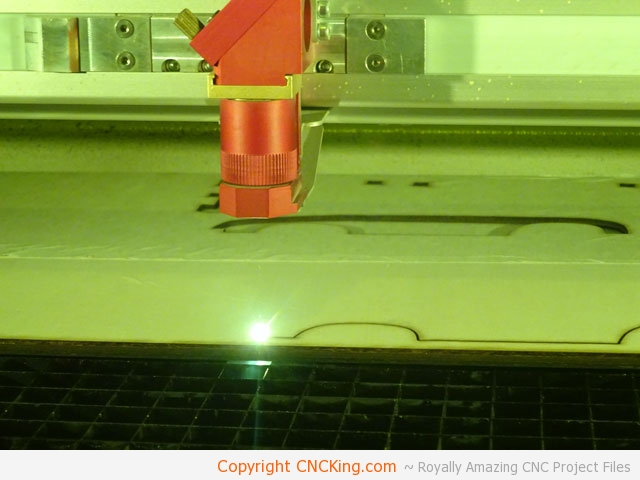
I used my CO2 laser tube from my Austrian Trotec Speedy 400 flexx to cut through this plywood. I really like how consistent my CNC laser is cutting through materials, the settings I used a while back are just as valid today as they were back then.
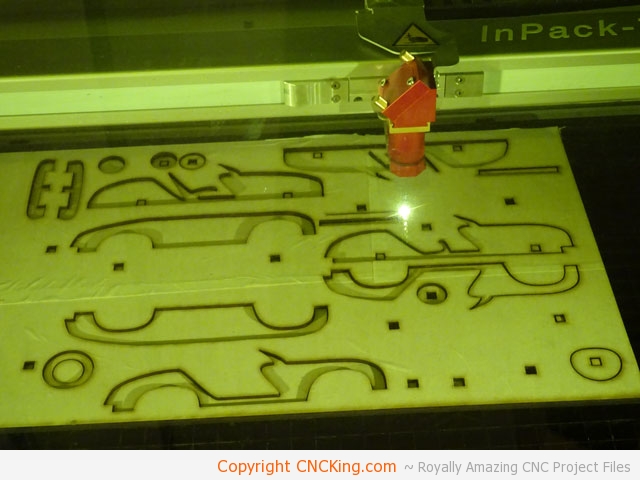
I also set it up so that inside parts were cut first followed by outside of this 1956 Porsche Speedster. This is done using different spline colors within JobControlX which is Trotec’s G-code generation software.
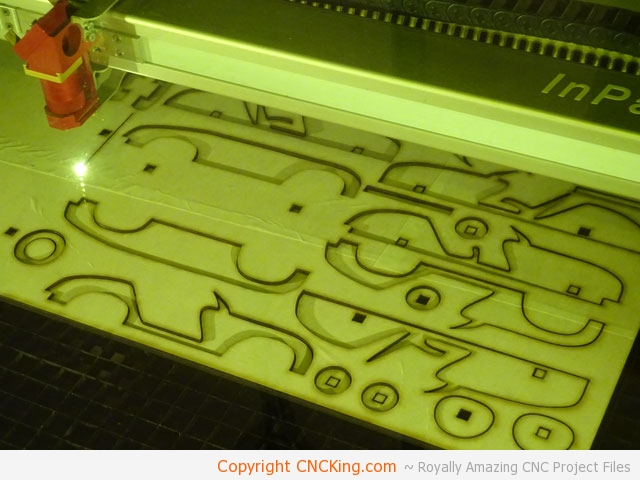
As each piece of the 1956 Porsche Speedster was cut through, you can clearly see it drop down, the cheap plywood I use to test these models out is warped slightly.
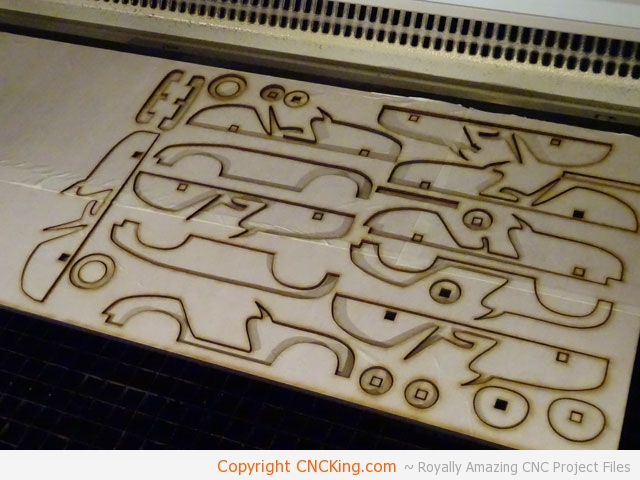
This board of plywood was wrapped on both sides and it itself was a scrap from another project I did so I optimized the file to fit within the parameters of this offcut.
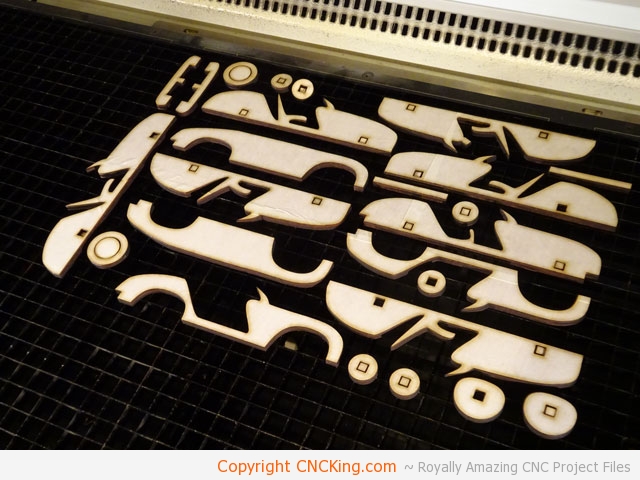
Once everything was CNC laser cut, it’s time to lift it off the bed. For this model at least, it’s easy to workout what is good vs scrap.
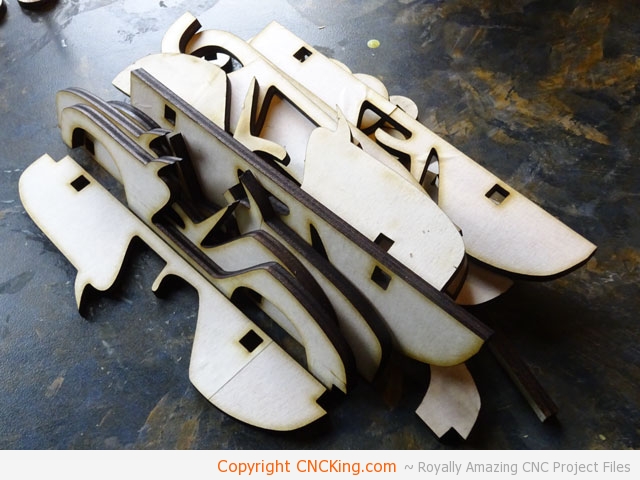
Having a bunch of parts, I designed this model so that it went together easily using guides which are those square holes you see in the frame pieces.
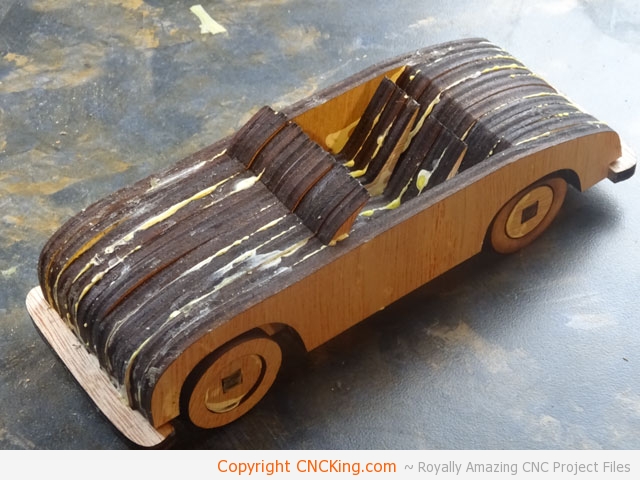
You can get this model right now at CNCKing.com. It’s a fun CNC laser project to cut and looks pretty good too minus the glue I used. You can watch the whole video below.
CNCKing.com: 1956 Porsche Speedster Laser Cutting & Assembly
1956 Porsche Speedster: 3D Assembly Animation (1080HD)
